Making a scarf on your own is a very doable job with just a couple of techniques. Knitting, crocheting, finger knitting are some of the basic ways to do it.
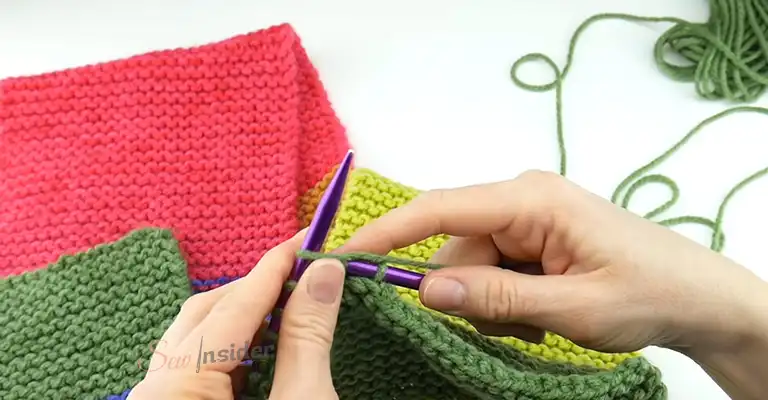
How To Make A Scarf With Yarn
Making a scarf may look intimidating if you are a beginner or haven’t been knitting for long. But in reality, it is one of the easiest crafts for beginners because of the simple pattern and easy techniques.
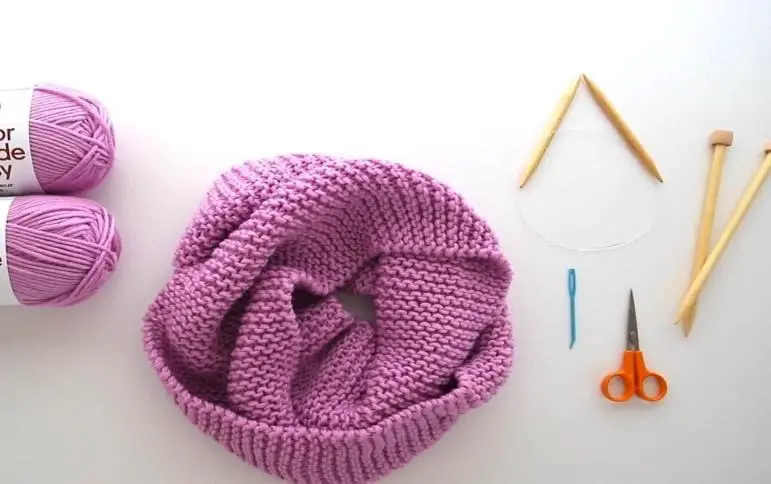
What you need
The supplies you’ll need for making a yarn scarf are,
- Yarn(chunky)
- Knitting needles (US 13,9mm)
- Yarn needle
- Scissors
Slip Knot
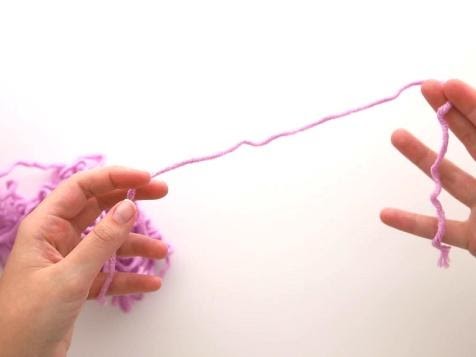
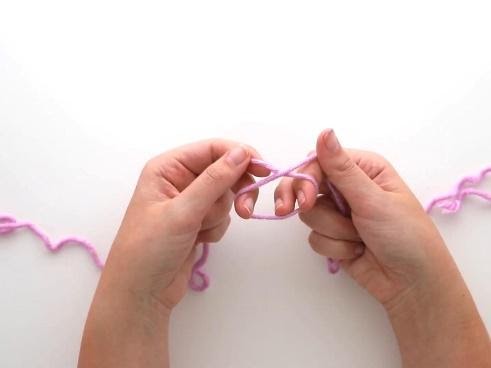
First of all, pull out the yarn piled at the center of the yarn ball and find the end of the thread. Then make a slip knot according to the pictures below. Now tighten the slip knot around one of the knitting needles. However, it shouldn’t be super tight, just enough so that it doesn’t fall off.
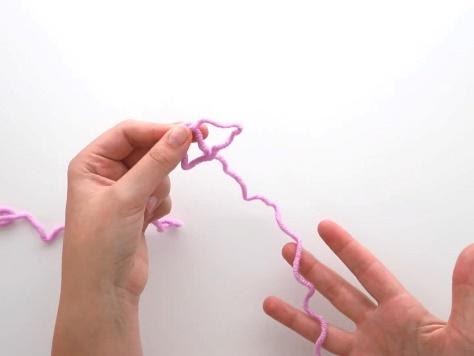
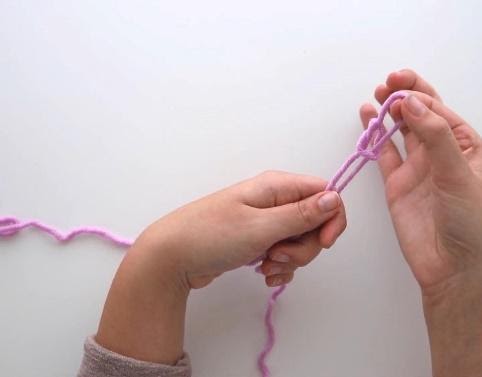
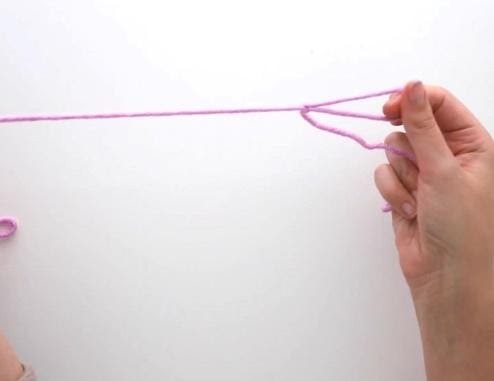
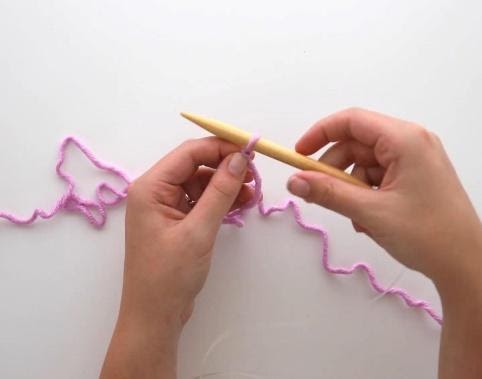
Cast On
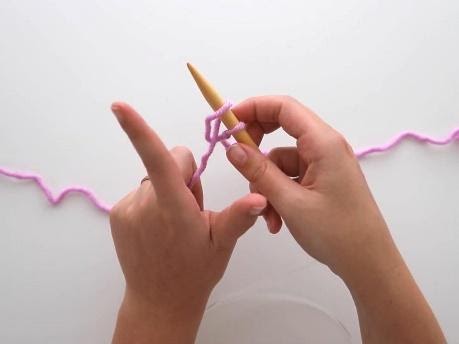
Now the step to cast on stitches. It determines the width of the scarf. 12 stitches will give you about 5 inches in width. To do the cast on, position your left hand by making an L shape with your thumb and index finger. And with the rest three fingers grab onto the working thread.
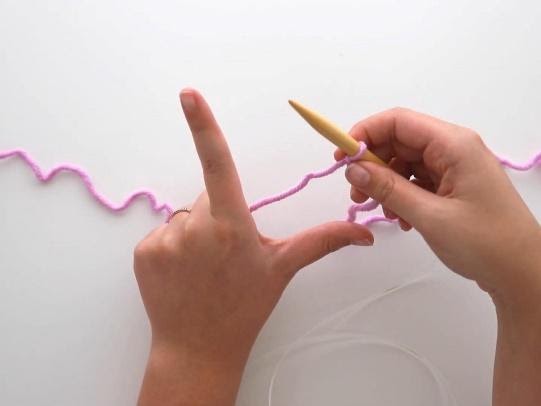
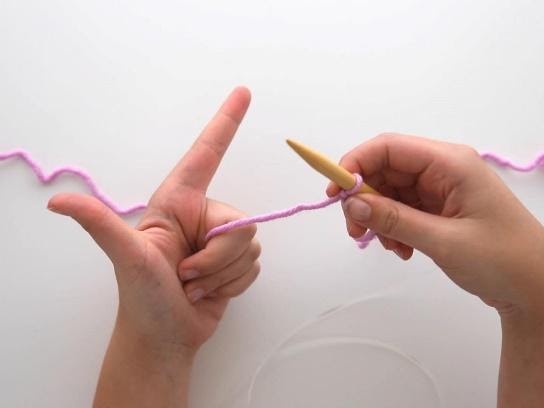
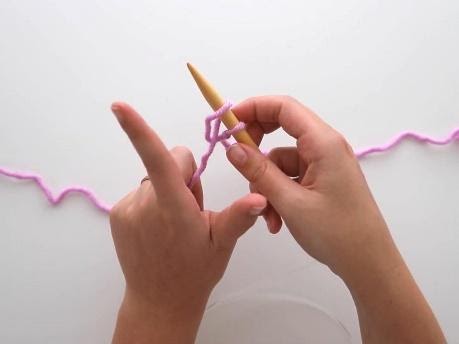
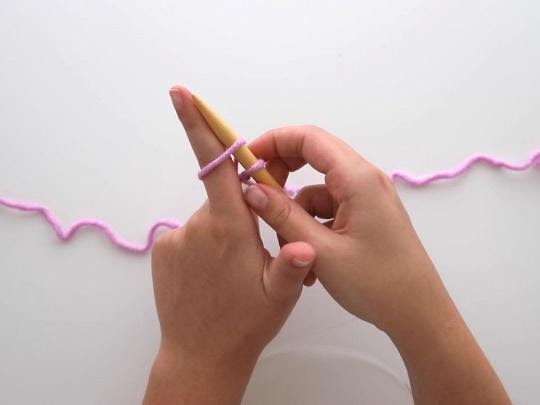
Loop the thread around the index finger and slide the needle into the loop. Then gently slide your finger out of the loop and pull on the thread so it’s tightened around the needle. This is called casting on a stitch. Keep repeating this action to cast on more stitches until it’s enough for the width you want.


Swapping Needles
Now transfer the needle with the cast on to your left and grab the other needle with your right hand.

Slipping Stitch
The next step is called slipping a stitch. To do that, first, wrap the working yarn around your left index finger so it has a nice tension. Now, push the right needle into the first loop on the left needle and just slip it off.


Knitting Stitch
Now push the right needle into the next loop again. But this time wrap the working yarn around the right needle from front to back instead of slipping it off like the 1st loop. Then pass the needle from back to front while holding onto the stitch and slip it off like usual to finish knitting the stitch.


Transferring Stitches
Keep repeating the previous step until all the stitches are transferred onto the right needle.

Repeat the Knitting Process
Then again transfer the needle with all the stitches to your left hand and take the empty needle in your right. The knitted part of the needle should be facing inwards and the working thread should go down and around the needle. Then again grab the working thread with the down three fingers so it’s tightened around the index finger.
Now repeat the steps until all the stitches are again transferred back to the right needle. Keep transferring them back and forth to make the whole scarf.

Cast Off
To cast off the stitches, again take the empty needle and slip off the first loop onto it. Then insert the needle into the 2nd loop and transfer it as well. Now, insert your left needle into the 1st loop that was slipped onto the right needle. Then pause the left needle and finish off the stitch with your right needle.


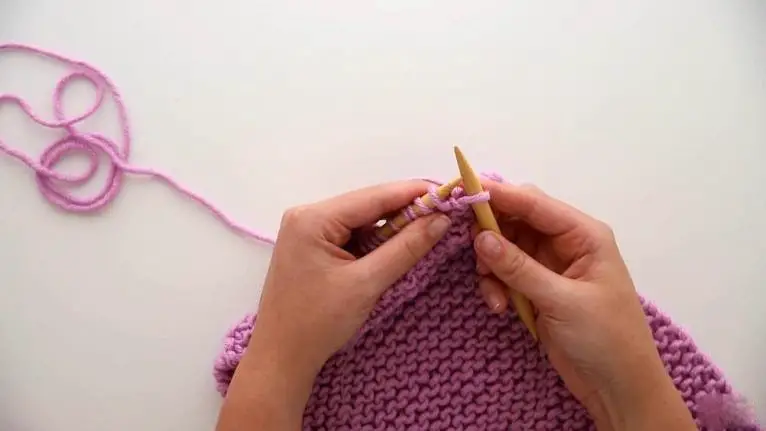
At this point, you will have only one stitch on your right needle. Now move the next stitch from left to right again. Then insert the left needle on the bottom stitch of the right needle and finish off the stitch with your right needle again in the same way. Cast off all the stitches this away until you reach the last loop.

Finish Off
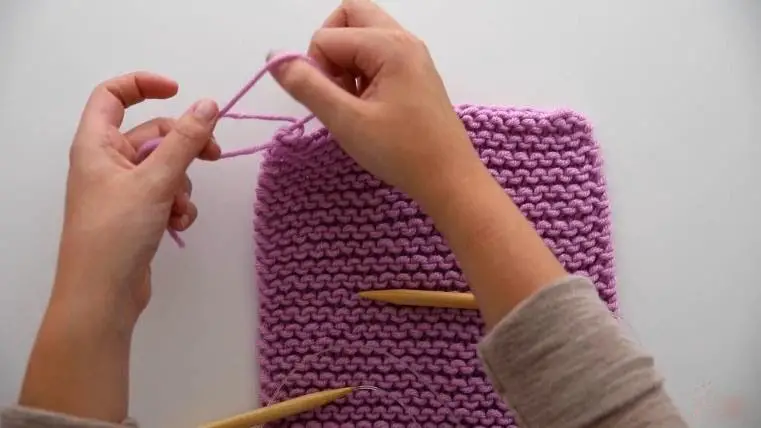
For the last loop, remove your needle from it. Then reach into it and pull out the working thread in the middle of it tying a knot. It will secure the whole pattern so it doesn’t come off. Now weave in the rest of the working yarn that’s hanging out and you’re done!



How To Crochet A Scarf
Crocheting a scarf works a lot like knitting. The supplies you’ll need are a crochet hook(6.5mm), yarn, tapestry needle, and scissors. Learn how to connect yarn while crocheting.
Slip knot
First, find the end of the thread. Then make a slip not with a small tail just like we learned at the knitting techniques and tighten the knot on the crochet hook.


Chainstitch
Now wrap the thread around the back of your hook and hold onto your slip knot with the index finger and thumb. Then pull the yarn through the loop to make a chain stitch.


Chain Pattern Forming
Keep making more chain stitch and you’ll notice a chain pattern forming. Continue doing this until you’re satisfied with the width. Generally, 24 stitches are enough excluding the slipknot and the loop on your hook.


Half Around Stitch
Now wrap the thread around the hook from front to back and insert the hook into the 3rd stitch of the chain. Then again wrap the yarn around it and gently pull the thread through the stitch.
You should have 3 loops on your hook by now. Now again wrap the thread on the hook and pull it through all 3 loops on your hook to knit a half around stitch.


Repeat crocheting
Keep making stitches and work your way to the other side. Then flip it and keep going back and forth until the whole scarf is crocheted.


Finish Off
Secure the last loop by pulling the working thread through it. Finish off by weaving in the loose ends with a tapestry needle.


How To Knit A Scarf With Your Fingers
You don’t always need a needle or hook to knit a scarf. Even fingers can be a great tool for it.
Threading
First, hold the yarn on your palm with your thumb. Now take the working side and thread it in between from your index finger to your pinkie. Then reverse the process and thread it again from your pinkie to your index finger. Continue this until you have two loops on each finger.


Looping over
Now pull the bottom loop over the top loop to the back of the finger. Do this for each finger.


Repeat Threading
Then again thread the working yarn on the fingers so there are two loops on each finger. And again, pull the 2nd loop over the top loop. Continue this same step over and over again until the whole scarf is knitted and there’s only one loop on each finger.


Finish Off
To finish off the scarf, take the loop from your 1st finger and put it on your 2nd finger. Then pull the bottom loop over the second finger. Then again transfer this loop to your next finger and repeat it.


Adding New Rows
However, if you want to add another row, hook the last loop of your 1st row on your index finger and repeat from the 1st step. But this time you’ll have three loops on your 1st finger and two loops on the rest.


How To Knit A Scarf With Thin Yarn
Knitting with thin yarn uses the same techniques as bigger yarns. However, thinner needles work better for knitting with thinner yarns. Also, use both needles when casting on the stitches. Then pull out one of the needles so the stitches stay on the other one. The rest of the steps are the same.
Knitting Scarf Pattern For Beginners
There are some simple scarf patterns that beginners can try out. They are easy and very doable for a first-timer.
- Infinity loop pattern
- Star Stitch
- Wavy Drop
Frequently Asked Questions
Q. How much yarn do I need to make a scarf?
Ans: Around 500 yards is enough to make a regular scarf.
Q. What kind of needles should I use for knitting?
Ans: You can use both circular and straight needles. However, circular needles are more versatile.
Conclusion
Making a scarf with yarn can be pretty time-consuming for beginners. The key point is relaxing and let your hand get used to it. Don’t be discouraged if it doesn’t turn out to be how you expected, you’ll get there eventually.
Leave a Reply