Yarn bracelets are highly popular among people who love to pass the time doing craftwork. These bracelets don’t need much experience and supplies. You’ll only need colorful yarn, a pair of scissors, and a measuring tape and you’re good to go to make a simple yet pretty yarn bracelet.
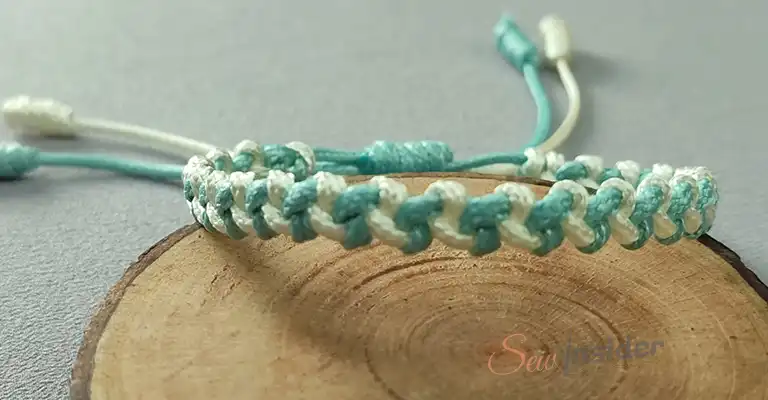
How Can You Make Bracelets Out of Yarn
One of the interesting aspects of these yarn bracelets is you can make bracelets from two to multiple yarns. Let’s learn how to make a DIY friendship bracelet as a beginner.
Way 1: Make Bracelets With Sewing Thread/Yarn
It’s amazing how simple threads can create a wonderful, sleek everyday bracelet. Here are the steps of making bracelets with sewing threads.
Step 1: Cut the threads
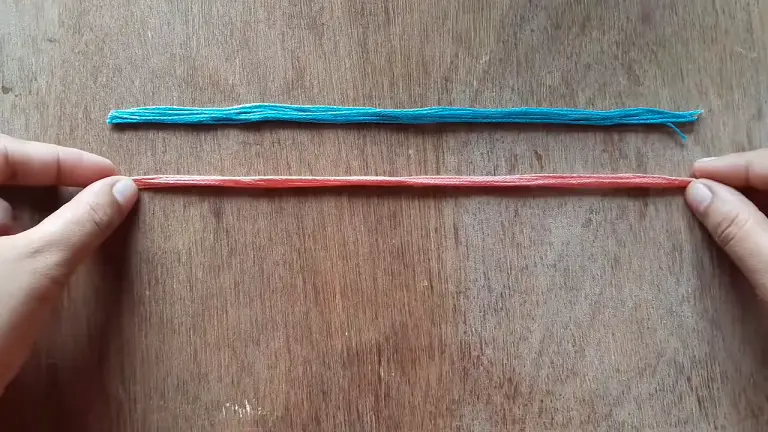
It’s better to take thick threads like embroidery floss. For most popular bracelet patterns, you can choose only two colors of the braid to do the bracelet or more. The process is quite the same for all styles. Let’s pick blue and pink thread. Btw, do you know the difference between yarn and thread?- Read the full article here.
You can cut 5 to 8 strands of embroidery floss. Remember if you decide to cut 5 strands, it should be applicable for both threads. Each of the strands should be 12 inches long. Based on your wrist size, this length can be more or less.
Step 2: Make a knot
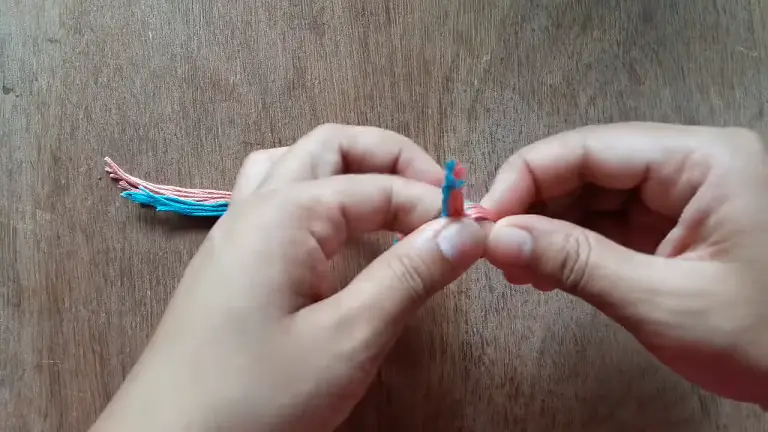
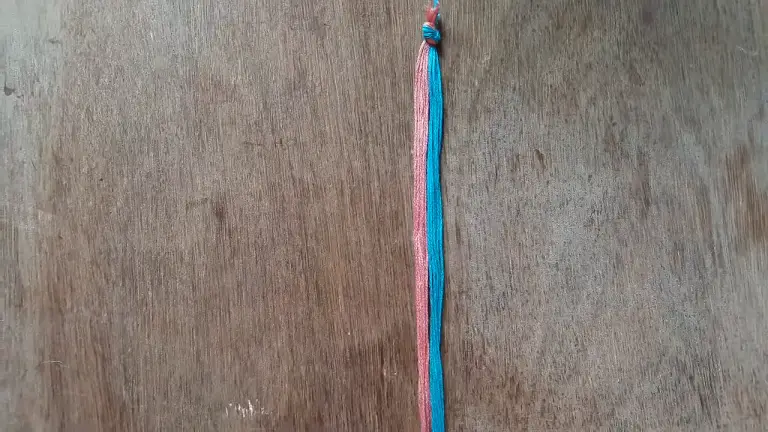
Take all of the strands of each color. Hold them together. Hold the end of the threads and tie them together using the fundamental lower hand knot. It’s suggested to make the knot two inches lower at the end. Then, take a masking tape to attach the knot to the desk or to the surface of the place you’re working.
Step 3: Start Weaving
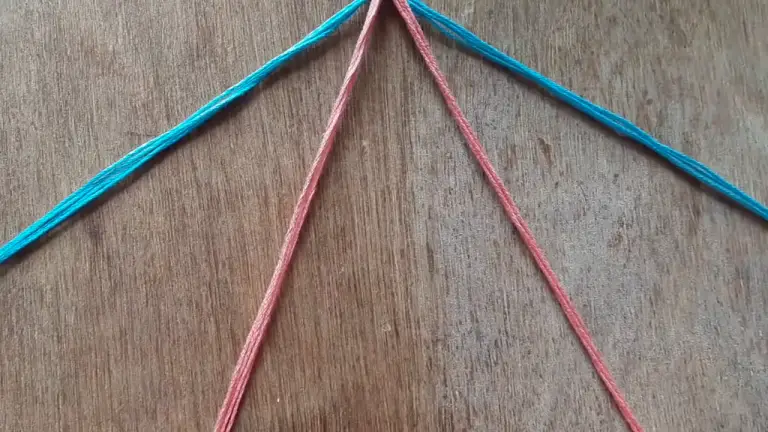
Divide two strands into four. Each color will have an equal number of thread strands. Cross one blue strand with the other blue strand. In the same way, cross one pink strand with another pink strand. Repeat the step.
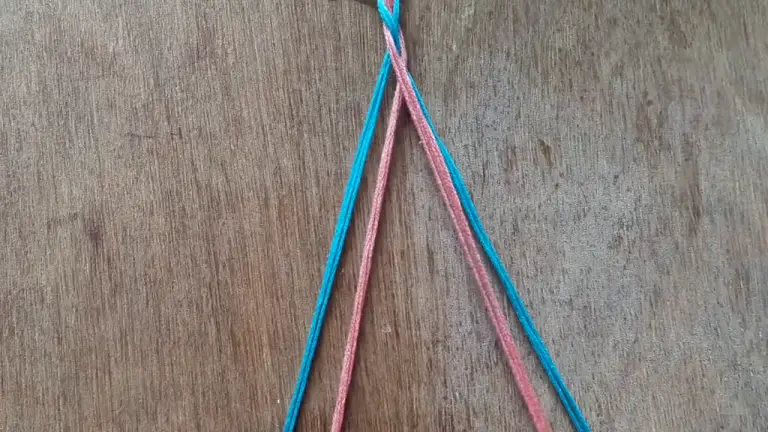
Step 4: Tie the end knot
When you’ll reach the end of the length by crossing the threads, you have to make a similar lower hand knot. You can tie two knots as well to secure a stronger knot. If some threads are loose at the end, cut them to the end of the knot. Then with fabric glue, you can smooth the bracelet ends by sticking the thread ends together.
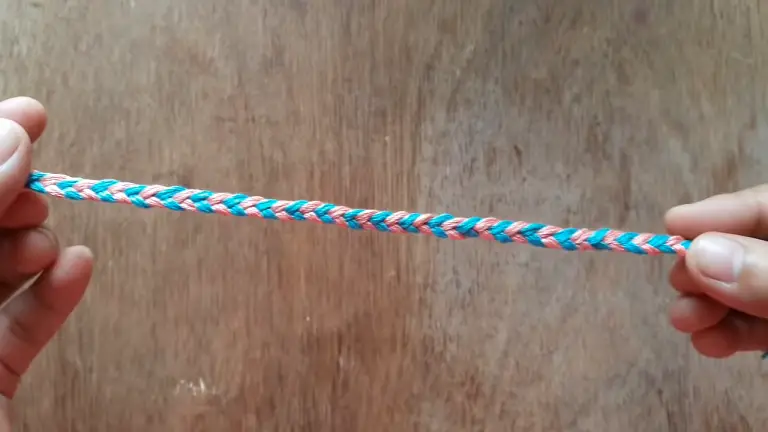
Way 2: Make a Bracelet With Yarn and Beads
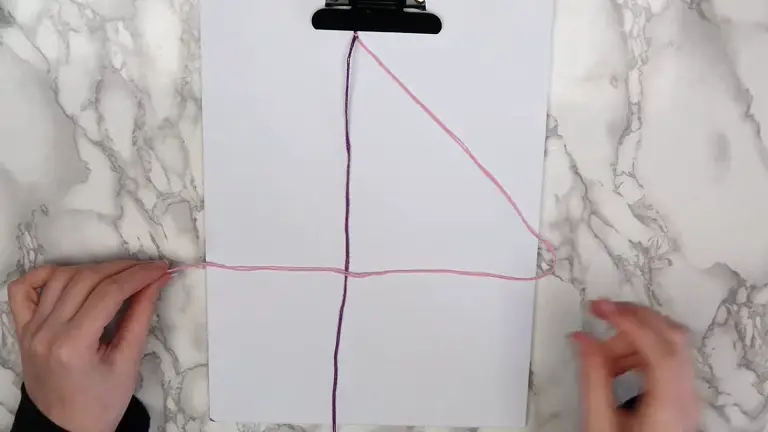
Step 1 and 2 is similar as in the previous section. But here you have to take only two pieces of yarn, cut it to the desired length. Fold them in half and knot them together in a basic knot.
Step 3: Weave the strings
Take the left yarns of the same color and make a forward knot. To make a forward knot, make a 4 shape with the working strings over the other knot. Now take the other strings and make a backward knot over the first strings. To make a backward knot, make a backward 4 shape over the other strings with the working strings.
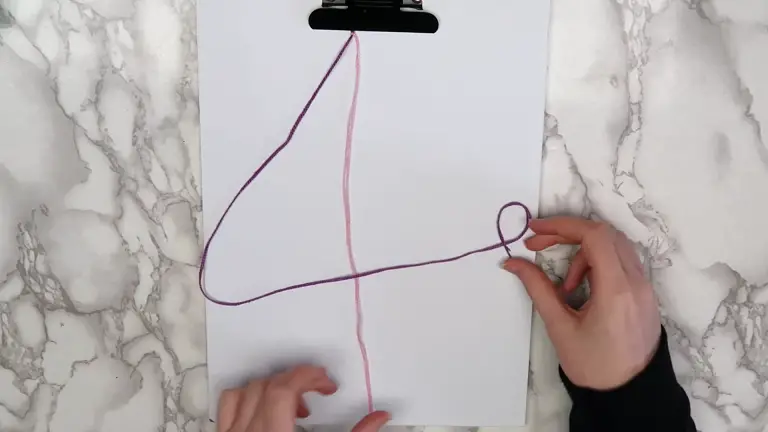
It’s better to continue the process for two inches before half of the threads. Now take the middle strings together and thread a bead. Take the right string and make a forward knot. Pull it to the end so that it holds the bead tightly. Take the left string and make a forward knot as well.
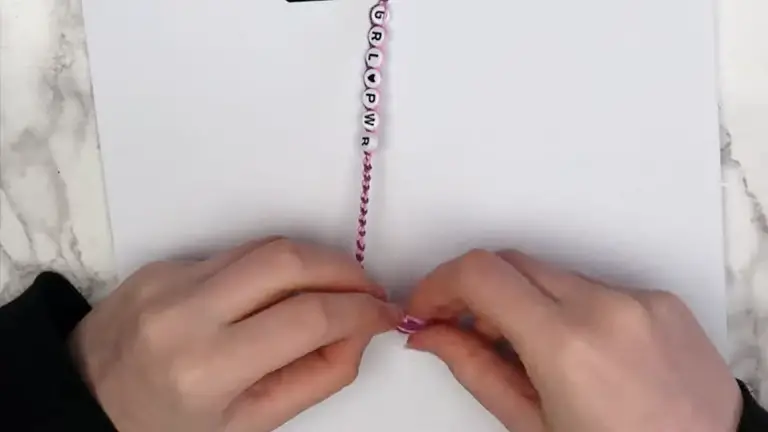
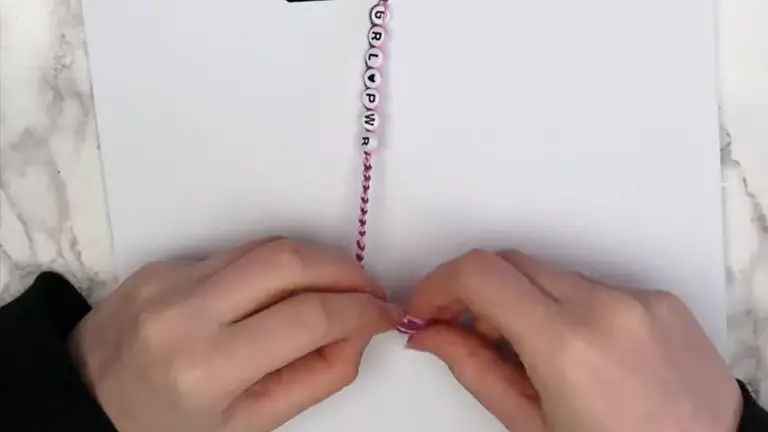
Thread one by one bead and repeat the process for each bead. After finishing with the beads, start knotting the remaining yarns in the same way you knotted the first half. Make a basic knot at the end. You may like to read about weaving yarns and everything.
Way 3: Make Friendship Bracelets for Beginners With 3 Strings
https://youtu.be/YujvDp5BJ78 (From 8:35 minutes till the end)
If you’re a beginner and want to prepare a friendship bracelet all by yourself, you’ve come to the right place. The steps of making a simple bracelet with 3 strings are given below.
Step 1: Cut the strings
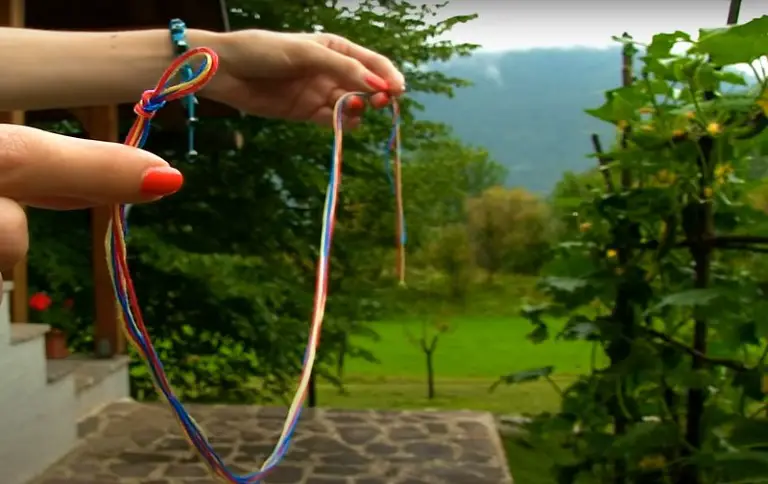
Take three color strings and cut each of them into 80 inches long. You can take a more or less long string as well according to your wrist size or your benefit. Take all the strings together and fold them in half. Tie a knot two inches below the folder end.
Step 2: Tape the strings
Place the strings on a clean surface and put masking tape on the knot to keep the strings in place while knotting.

Step 3: Knot the strings
You can order the strings as you like. Say red strings are kept on the left side, yellow at the middle, and blue strings on the right side. Take the outside string, in this case, the left red string and knot it over the other five strings on the right until the working string reaches the end on the right side.

Make a forward knot by creating a four shape over the next string. Loop the working string under and back through the aperture. In this way move on to the yellow and blue strings. Make two forward knots by making a four shape, loop the red string that’s in work, under, and back through the aperture. You should pull every string to the end to make sure it’s properly tightened.

It’s always better to knot twice. The first row is done. Now take the other red string and start knitting. Place two forward knots with the yellow string and pass over to the remaining strings like before until the working red string reaches the other end. Repeat the process with the left strings until your knots reach the low point of the string.
Step 4: Thread a button
You have to keep patience. The work may seem frustrating at a point as you have to do the steps repeatedly but the time is worth it. To finish the bracelet place a lower-end knot at the end.
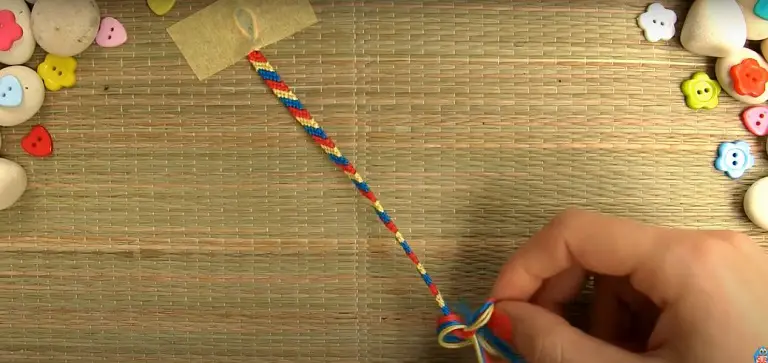
Take a button and thread to one of the strings. It’s better to thread the button to the string on the side. After threading the button, make a knot to hold it in place. Cut the extra threads. Your 3 string bracelet is ready.
Way 4: Make Friendship Bracelets for Beginners With 2 Strings
This process is the same as the steps mentioned for making bracelets from sewing threads. To make a friendship bracelet, you have to cross the strings the same way it was told to cross the threads and do the rest steps as well. Notably, there are several friendship bracelet patterns, choose a pattern that goes well with your persona.
4 String Friendship Bracelet
Here are the steps of making a simple 4 string bracelet.
Step 1 and 2 is similar to the first and second step of making a 3 string bracelet. The only difference is you have to cut four strings in place of 3.
Step 3: Knot the strings
Out of the eight strings choose anyone. It’s better to choose one from the edge. Now start making forward knots. To make a forward knot, make a four shape over the other seven strings with the working string. Pull the working string to the end to tighten the knot.

Repeat the process until you want to change the color. If you determine a particular length for each color, the bracelet will look better. So say you’ll continue knotting the edge string in 4 inches length. After that, take the next string or any other string and start making forward knots the same way.

Then after going for 4 inches, change the color again with a string from any of the 6 remaining strings. Remember one thing, if your spiral reaches the right side or if you’ve started from the right and your spiral has reached the left side, then you have to go below the seven strings to the opposite side with the working string before continuing knotting.
The last step is also similar to the last step of the bracelet making from 3 strings.
FAQs (Frequently Asked Questions and Answers)
Since the woven pattern is based on knots, friendship bracelets are a form of macrame. As a sign of long-term friendship, a friendship bracelet is traditionally made and given to a friend. Let’s get into some common questions quickly.
How to make the bracelet adjustable?
To make the bracelet adjustable just simply bring together the end threads of the bracelet and knot some square knots on them. To make a square knot, take an extra thread or yarn of about 6 to 8 inches long.
Is there any way to untie an unwanted knot?
Yes, there’s an easy way. just insert a safety pin in the middle between the two parts of the knot and gently shake it to untie the knot.
Conclusion
Bracelets are one of the most used ornaments all over the world. The young generation especially has a special attraction towards this accessory. Bracelets can be made from threads and yarns in many patterns. Hopefully, this article will help you with the basic information and boost your confidence.
Leave a Reply