If you are thinking of making a doll of your own, you should know about making yarn hair to provide it a perfect look. With proper care and in the right process, you can easily make a set of locks for your doll or puppet.
How to Make Yarn Hair
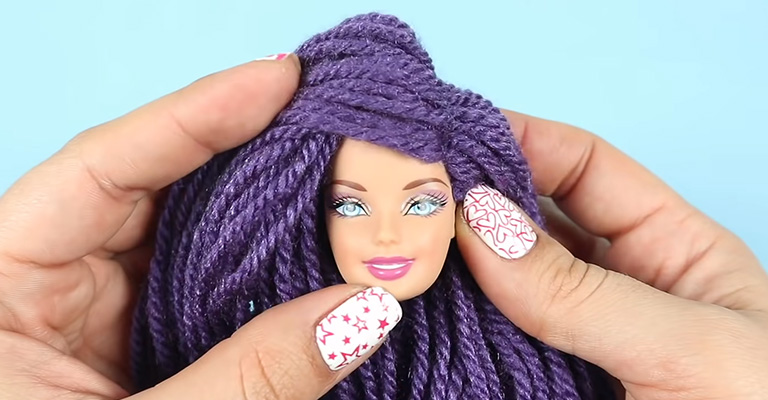
There are several styles of yarn hairs. Your doll can be of any type such as a baby doll, boy doll, Barbie, bisque doll, ragdoll, fashion doll, etc. and you can use specific styles for each one.
How to Make Yarn Hair for Puppets
A puppet with beautiful hair instantly makes an impression. Follow the steps of making yarn hairs for puppets to achieve the goal.
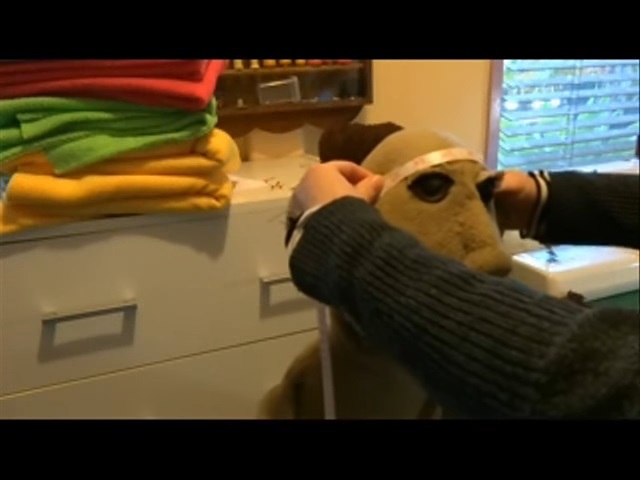
Step 1: Measure the Head Size
Take a measuring tape. Determine how many portions of the puppet head you want to cover with hair. Measure that area with the tape and note down the number. You have to divide the hair into three parts.
Step 2: Make the fringe
This will work as bangs of your puppet hair. Make a template. The size of the template depends on how long you want the hair to be. Say we make a 10 inch by 6-inch template with cardboard. On both sides make two little notches in the up and down. Now put the yarn in the notches so that it doesn’t get displaced.
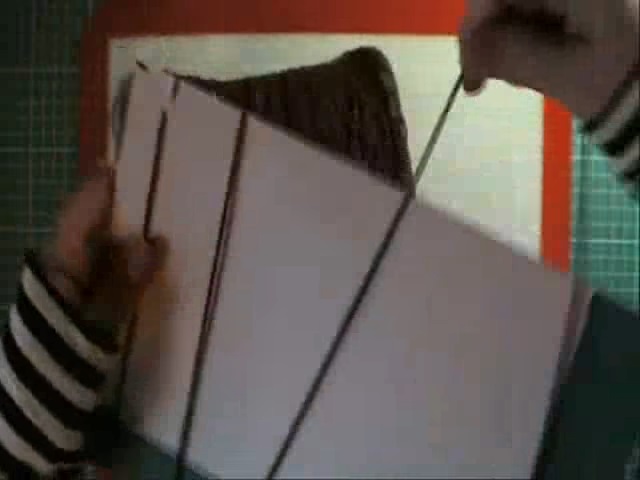
Start winding and fill the full template. To make it even you should push down the windings repeatedly after making a few. By this when you’ll reach the other side of the template, the fringe will be symmetrical.
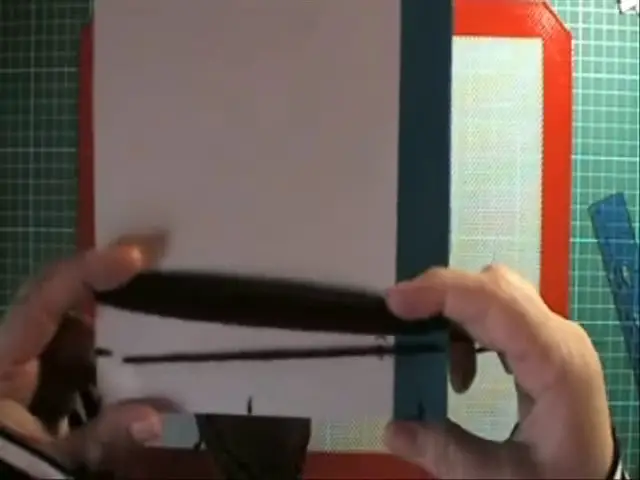
Once you’ve wound the likable width, take a sticky tape. Cut it in a length slightly longer than your template’s length. Now stuck the tape at the end of a ruler with the sticky side up.
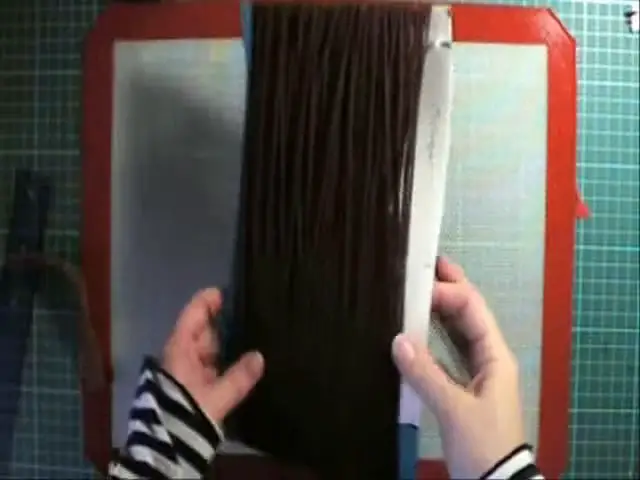
Bow the template and thread the ruler underneath the yarn wall. Close it up over the wall. Take another piece of shorter sticky tape and stick it on the remaining open part of the yarn wall. Repeat the process for the part of the yarn wall under the template. This will help to sew the yarn fringe. Clip off the other side of the yarn.
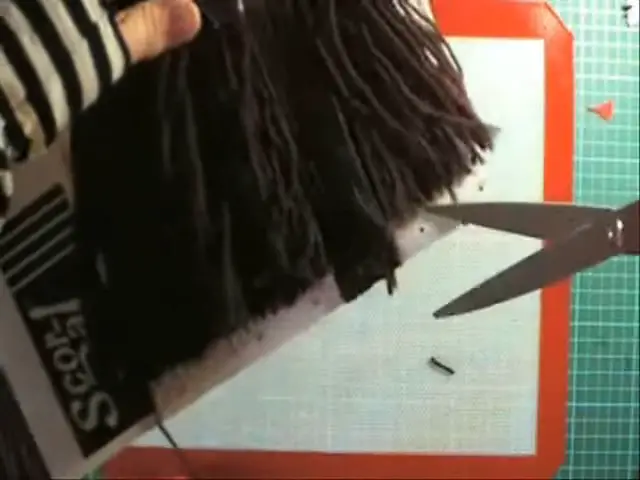
Step 3: Sew the yarn wall
After clipping off the side, release the yarn wall from the template. Lay it on a table. You’ll see a lap in the middle of the two tape lines. You have to sew on that lap. Place it under the sewing machine and start sewing.
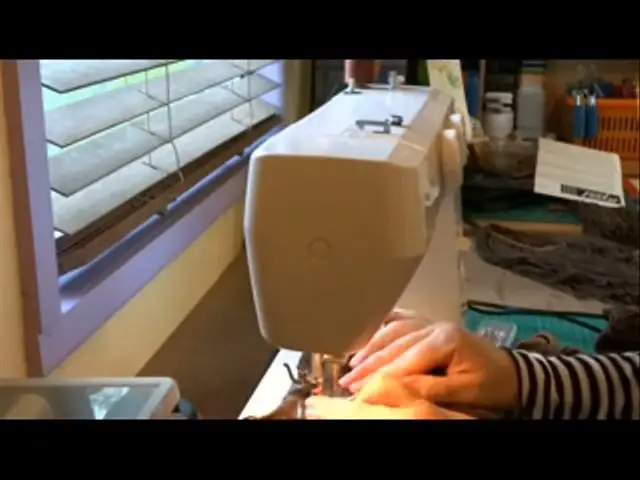
Sew on the same place in reverse mode as well to reinforce it. Now place a pair of scissors underneath the sticky tape and cut it. Then pull it off. Flip the fringe over. Place the folded edge under the sewing machine again and sew it. One of the bangs is ready. Prepare other bangs. They will be placed in the back and front of the puppet’s head.
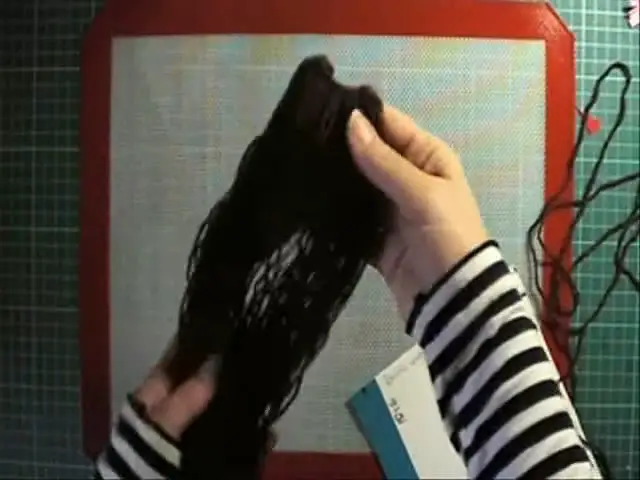
Step 4: Prepare the middle fringe
This will be the main part of your puppet’s hair. Use the same template but in this case, you have to go by 10 inches. Make little notches and start winding in the same process as before.
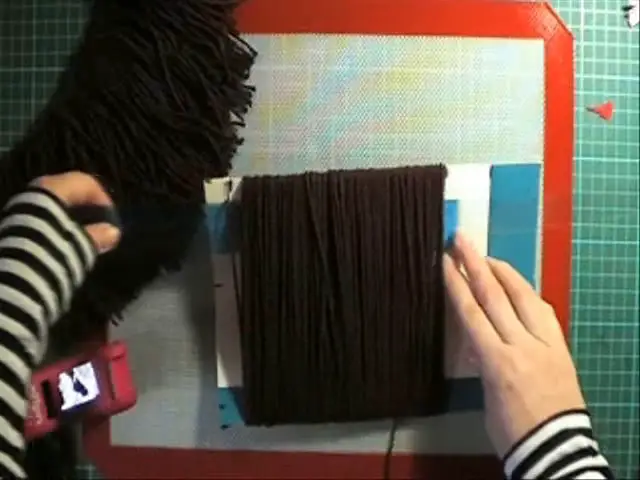
Again place sticky tapes on above and underneath the portion of the yarn wall. Clip off one edge. Take a piece of polar fleece. The length should be the same as the width of the yarn wall.
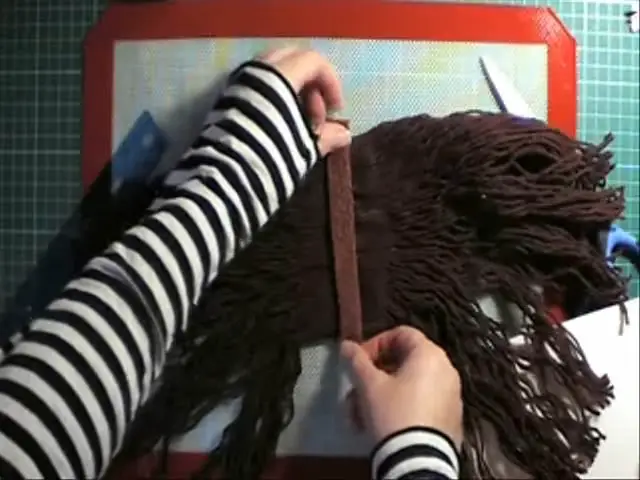
Place that fleece in the middle portion of the two tape lines or on the lap area. Lay the polar fleece down first and put it in the machine. Sew back and forth. Remove the tapes like before.
Step 4: Set the hair
Your puppet hair is ready. All you have to do now is reassemble it and sew it on the head. Place the front or the back bangs first and sew it. After being done with one, place the other bangs and sew it. You have to place the bangs in such a note that it covers the whole head circularly. Now place the biggest portion on top of them.
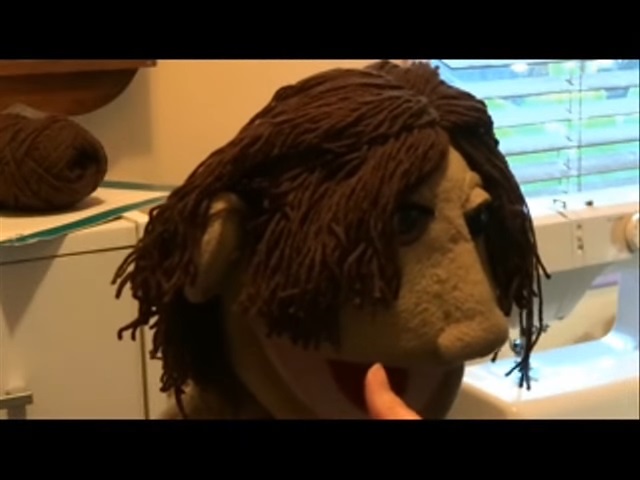
Divide the front bangs. Place the middle of the main fringe in the middle of the front bangs. Sew the fleece to the head. You have to be a little careful and technical while sewing this part. After you’ve done with the main sewing part, trim and cut the lengths as you wish. You can also sew portions of the hair on both sides to give a stylish look. Here is a brief article showing how to make a yarn wig.
How to Make Curly Yarn Doll Hair
Curliness can be of different levels and types. You have to use either knitting needles or long crochet hooks or wooden dowel sticks. The thinner the rods, the more curls the hair will have. You may also need a cookie sheet and an oven to set the curls. Here are the steps of making curly yarn hair.
Step 1: Wrap the yarn
Take a crochet hook. Make a small knot at the end of the yarn and put it over one side of the hook. Wrap the remaining end part of the yarn. now start wrapping the yarn all over the hook.


After making a few loops push them down. Continue doing this so that you get thick, even yarn curls. At the end make a loose loop. Pull the tail through that loop and tighten it. This will secure the yarn in the hook tightly.
Step 2: Set the curls
After finishing the wrapping, place all hooks in a pan. Pour some water on them until they get completely soaked. Put the hooks on a cooking sheet. Place the sheet into the oven at 250 degrees until they dry fully. Don’t forget to check on them every 10-15 minutes to make sure that they don’t get melted or burned.

How many hooks you need, may depend on how thick you want the hair to be. However, when the hairs will dry, pull them out of the oven and lose the knot you placed at the end. Unravel the yarn gently.

Step 3: Cut the hair strands
To make the doll’s hair even at the back, make the hairs at the bottom shorter and the hairs at the top of the head longer. So you have to make two templates. You can change the sizes of the templates according to the length of the hair you want. Say we’ve cut templates of 9 by 10 inches and 8 by 2 inches.

Start winding the strands in the template. After winding in your desired width, cut one side of the loops. Here we’ve made three different sizes of strands. You can make as much as you want to make the doll’s hair fluffier.

Step 4: Set the hair
Your hair strands are ready. You can use them directly or you can make ringlets as well to make the hair look prettier. Then just make a loop at the end of the strand, insert the hook through the loop and then insert the hook into the wig cap. Make a knot afterward. Follow this until the wig cap is full of hair strands.

How to Make Barbie Hair With Thread
The steps of making long silky Barbie hair are given below.
Step 1: Cut the thread
Take a silk thread. you can make a template like mentioned before or take a lid as well to wind the threads. After winding a few strands, take it out and fold it in half. Cut them in half.

Step 2: Glue the strands
Take a piece of plastic. Make a line with glue and place the end of the strands carefully and evenly on it. Place some glues over the same sticky edges of the strands. Brush that edge. Let the glue dry.

After a certain time when the glue dried out, pull the strands carefully. They are sticking together. Cut the rough edges. Repeat the process and make multiple strands like this.
Now all you have to do is glue the strands on the doll head. mark the middle part of the doll’s head. At the back, start to glue the strands around the head in the line where you want the beginning of the hair strands to be.
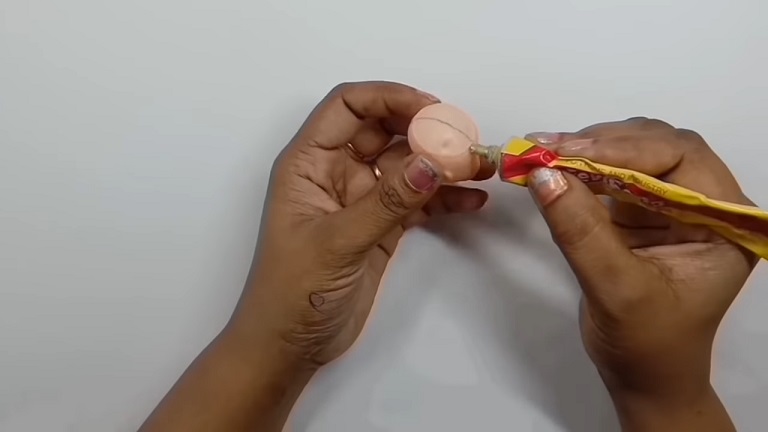
After that, glue the strands of hair along the marked line in the middle. After finishing with one side, say left, again glue the other strands of hair in the same place to rest it on the right side.

How to Make Boy Doll Hair Yarn
The steps are given below.
Step 1: Cut the yarn
Determine how long you want your boy doll hair to be. Now fold the yarn four times in the same length and cut it. Cut two of this size yarn. Now fold them together and wrap them around a hook making a knot. Use a comb.
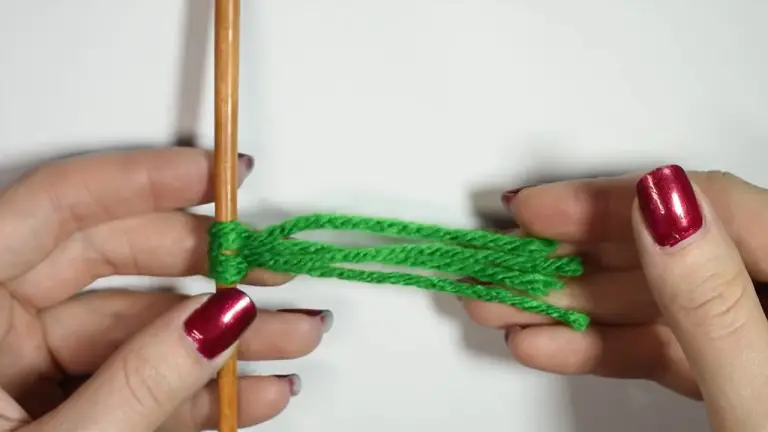
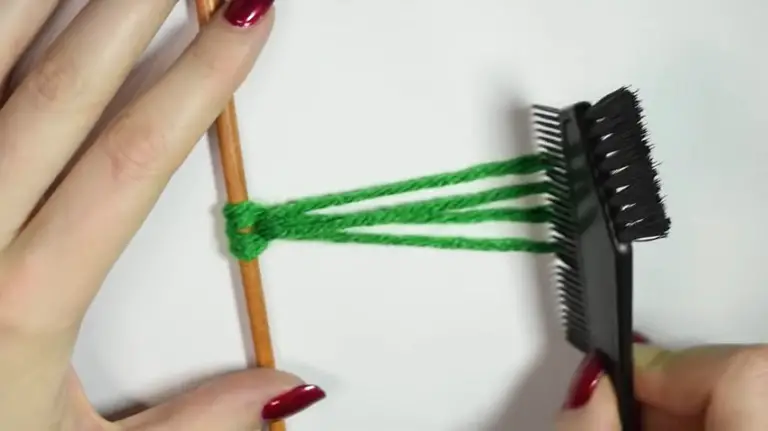
Gently come out on the yarn with the comb starting at the bottom. It’s going to take some minutes. Stop when you’ll get fluffy long smooth strands. You can leave it like this or use a hair straightener to make it smoother. When you’ll get the desired texture, cut the yarn loose.
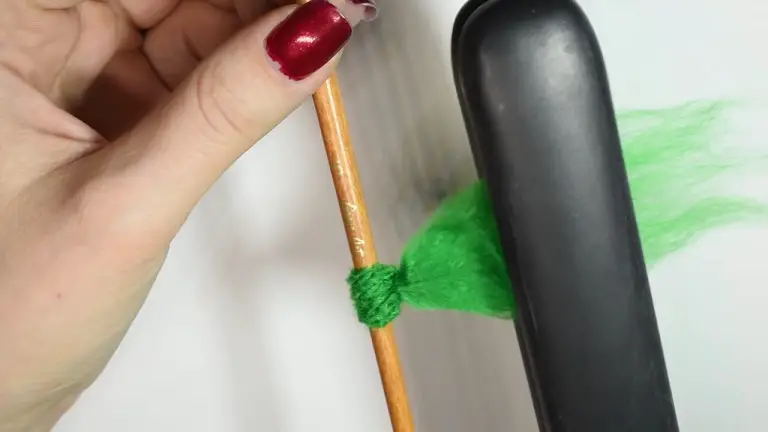
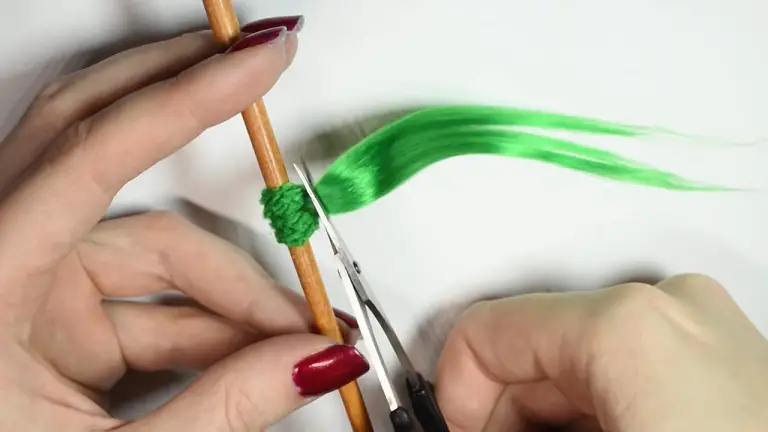
Step 2: Set it on the doll head
Take a reroot tool. Pull a very thin strand. Double it while holding it with the tool. Now insert the tool into a point of the end hairline. This is how you reboot. Keep repeating the step until you’ve inserted all the strands. You should use glue inside to set the strands in place.


After that pull the hair in the front side and glue them on the head. this way fill the head with hair strands and glue them together until you cover the whole head in the desired hair width.
FAQ
What type of yarns is best for doll hair?
Mohair and wool are ideal yarns for wigs. They make really realistic hair.
How do you apply glue to set the hair?
First apply a thin line of sticky, strong glue at the line where you want to place the strands. Then lift one side of the strands up at that part. Again apply a thin line of glue, spread it around with a brush. You can use your hand as well. at last, press the strands down to attach it.
Final Words
There are many ways to make hair out of yarn. However, we tried to cover some basic and simple ideas. Whether it’s for young children, grandchildren, or simply for you, making your own dolls can always be a fun way to spend your leisure or run from the monotonous frustrations.
Leave a Reply