As the serger can perform loads of sewing operations, there is a lot to learn about its settings. Once you have gone through all the settings, all you have to do is to create a chain of stitches before sliding the fabric in. Afterward, extend the chains a little bit when you are finished serging. Finally, tuck the tails in for better finishing. Check this article if you don’t have a serger machine.
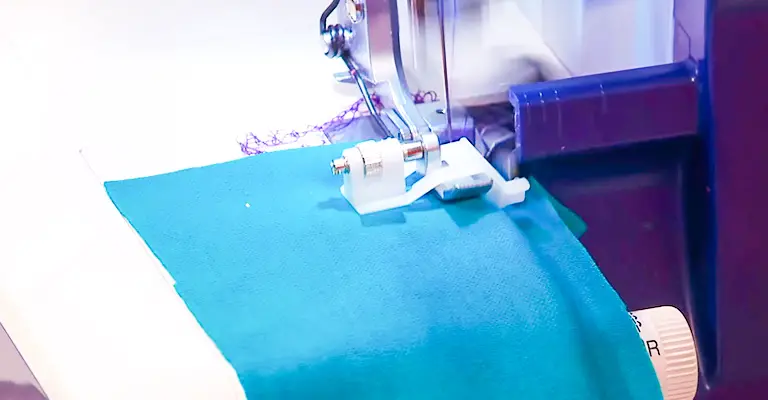
Serger Hem Types You Can Go For
For hems, seam finishes, professional seams, and many more, you can rely on the serger machine. But here we are going to talk about what kind of hems there are and how to do them all easily.
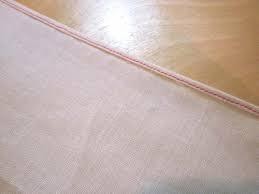
1. Narrow Rolled Hem or Rolled Hem
Narrow rolled hem or rolled hem is the most commonly used in the major sewing patterns. You can see this type of hem on lightweight fabrics and mostly on blouses. Such types of hems are great for hemming curved edges, particularly on circular skirts and t-shirts. Unlike the double folded hem, this hem is pretty narrow.
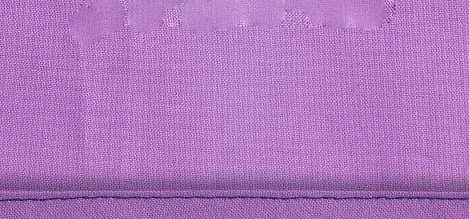
2. Double Folded Hem
This one might be the easiest to do and yet provides a professional look on most products. For most straight hems, a double folded hem is more preferable as the curved ones get wrinkled or puckered.
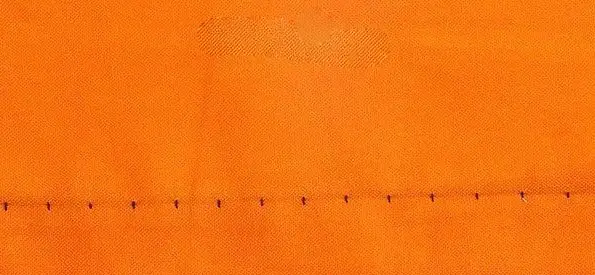
3. Blind Hem
A blind hem is named in such a way because you do not usually see them on your fabric. It remains invisible from the right of the fabric. Usually, this type of hems is used in the wider straight hems and on the bottom of skirts or slacks.
4. Bias Tape Hem
This type of hems is considered to be the alternative for rolled hem or double hem as these are used in thick fabrics and rolled hem and double hem would be too bulky in that situation.

How to Serge a Hem
Now we are going to talk about the simplest procedure of how we can serge hem. Follow the instructions step by step to have the best outcome.
Step 1: Setting Up
Before starting, you have to set up your serger machine. To do so, you may have to change some of the settings like stitch length, stitch width, differential feed, and blade or knife lever. You can set the serger for an overlock stitch which is the basic hemming, or you can go with a rolled stitch which is good for light fabrics. Learn how to thread a serger machine.
Step 2: Trimming the Fabric
Trimming the fabric is a great idea as it will be neat and provide the exact length you want as well. It will be better if your item measures ¼” of your required final measurement when you do not have a plan to fold it under.

Step 3: Creating a Chain of Stitches
Before starting to create stitches on your fabric, you need to sew a few stitches with your serger without the fabrics on. You can continue stitching one or two inches if you want before putting the fabric under it. This is going to create a chain of stitches that will help to start you off.
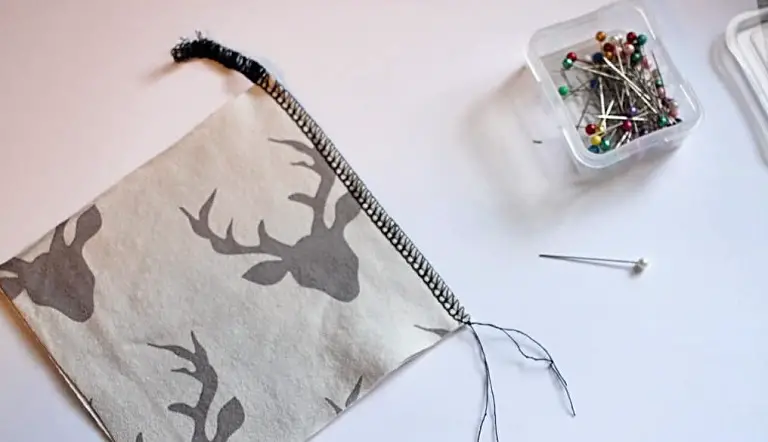
Step 4: Sliding the fabric in
Now it is time to put the fabric on the machine. And do it in such a way that the serger knife can neatly trim the edges of your fabric.
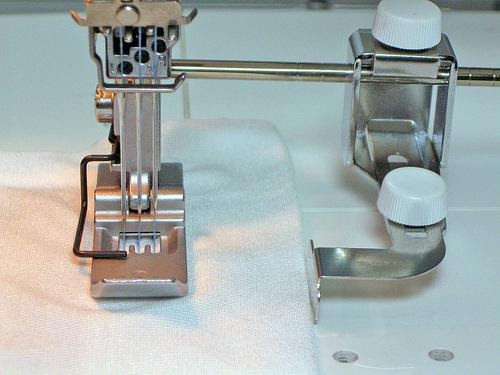
Step 5: Serging down
You have to pull the fabric out after serging down one full side. But still, you have to keep continue sewing one or two inches to create another chain at the end of it.
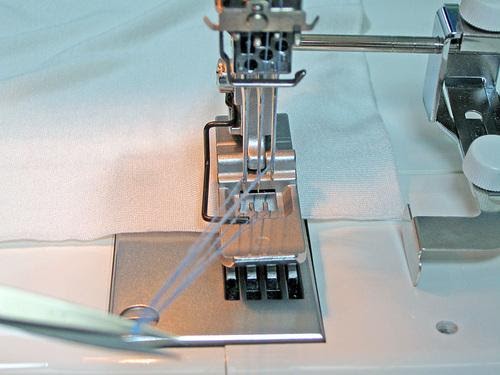
But if your sewing is started from a specific corner, you have to start a whole new seam for each edge.
Step 6: Tucking the tails in
You have to be sure that you have tucked those tails in. To tuck, the thread chains that are extended at both ends under the hemstitches, using a darning needle might be a good idea. Also, you may have to apply a little seam in the corners so that the threads do not unravel themselves.

Some Tips for Serged Hem
- If your fabrics have wavy or uneven edges, do not worry a bit. Because the serger knife will keep trimming the fabric as you keep going on with sewing.
- Do not serge over the pins. If you do so, it is just going to break your needles. Besides, it can cause damages to the machine too.
How to Serge a Blind Hem
There are some popular ways to do an invisible hem or a blind hem. One of them requires an additional tool called Blind Hem Foot or Overlock Hem Foot. If your machine does not come with one of these, you can buy it online.
If you are doing this for the first time, the outcome might not be so good. But be patient and keep practicing.
Step 1: Folding
First of all, fold the fabric, and then you have to press the hem to the wrong side of your fabric. After that fold the edge of the fabric again towards the right side of the fabric.
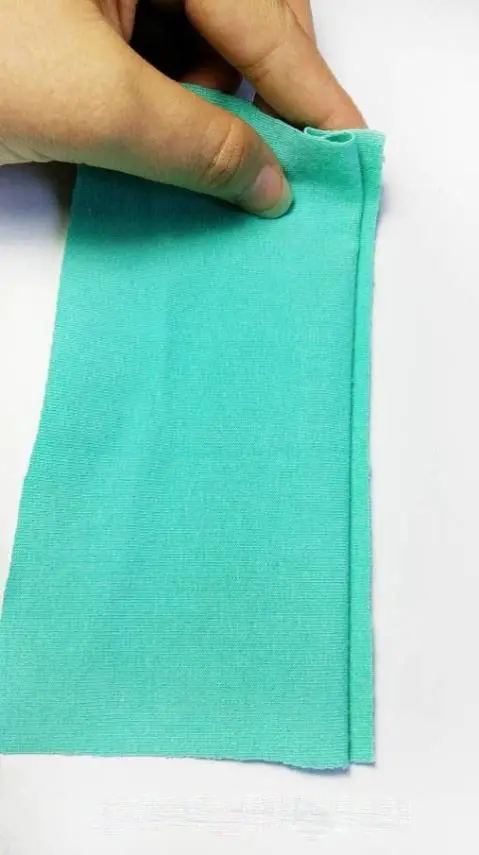
Step 2: Setting up the Serger Machine
Set up the machine for only three threads with only one needle. Firstly, you have to remove the right needle. Right after that, you need to set up the tension disk the way it is mentioned below.
Needle thread tension: 0-2 for the first disk
Upper looper thread tension: 5-7 for the third disk
Lower looper thread tension: 2-4 for the fourth disk
Step 3: Placing the Fabric
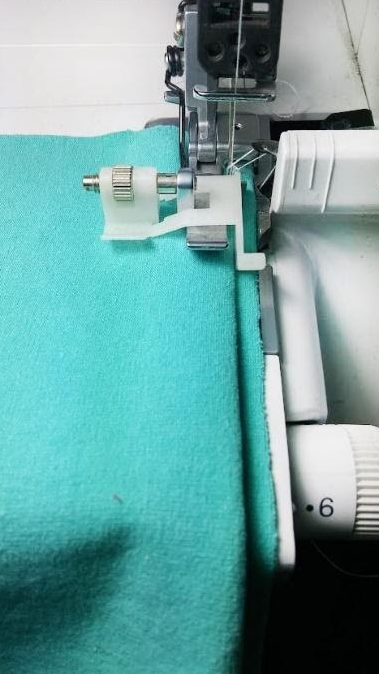
You have to slide the fabric in a way that the wrong side will be facing up. The folded edge should be on the left side so that the needle pierces on that side while sewing.
Step 4: Finishing
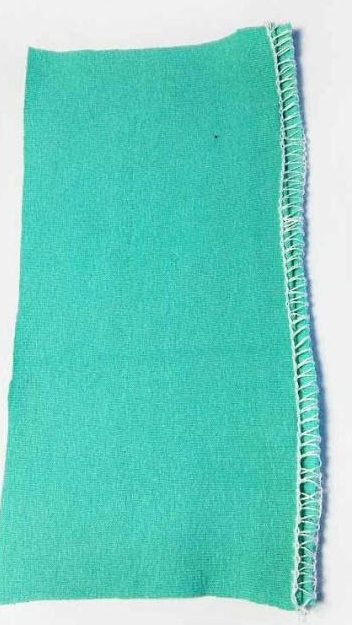
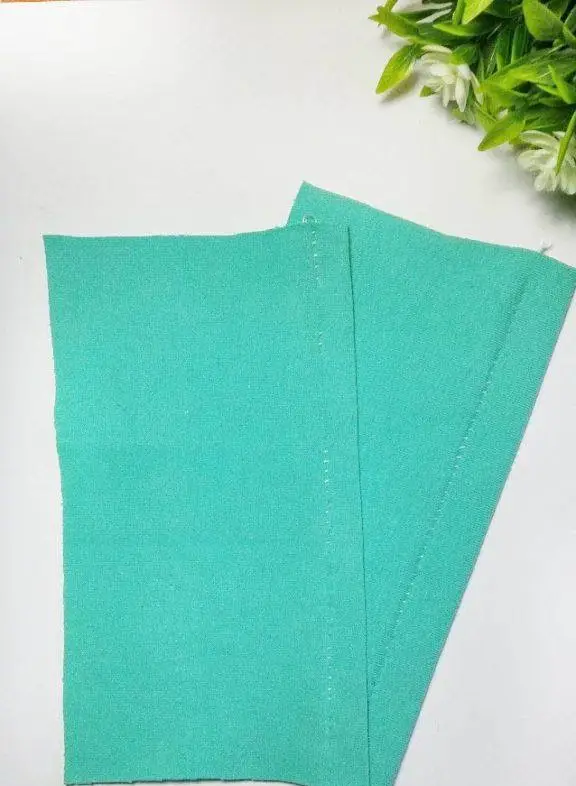
Finally, open up the fabric by tugging both the folded side and the edge in opposite direction. Then end your hem with a little pressing.
Frequently Asked Questions and Answers
Q. What is the best thing to use for a hem?
Ans: If you own a serger machine or at least have access to it, there are tons of professional sewing options available for you. But there are some tasks, for what experts prefer the only serger machine, the hem is one of them. This machine will not only give you a beautiful and clean hem, but also a professional finishing.
Q. What stitch should I use to hem?
Ans: Using a mock overlock stitch or a zigzag should be a good option for you. For a single-layer fabric, a three-step zigzag is more suitable.
Q. Does hem tape last?
Ans: Hem tape is not known for its durability. It might not last even one single wear. So you may have to rely on stitches. So stitching the hems is a good option for your garments, if you plan to wear them a lot.
Q. Can hemming tape be removed?
Ans: To remove a hemming tape, use your finger to apply a small amount of waterless hand cleaner on the hem tape residue. This should do the work.
Conclusion
Serging a hem can be a little tricky sometimes. But with proper guidance, you can earn this amazing skillset. To do your hemming in such a fast way, you will need a little bit of practice. But once you are gone through it, you’ll be looking for excuses for doing the hems.
Leave a Reply