The sewing journey with a Bernina 1008 is about making beautiful stitches and understanding how threads create our creations. This article focuses on threading this special sewing machine, ensuring every stitch reflects your skill. The Bernina 1008 is a durable and precise classic sewing machine. Threading it correctly is the first step to unleash its full potential. Before threading, we should know key components like the bobbin and needle—they’re essential for flawless stitches. I will simplify the process, making it easy for anyone to grasp the art of threading and create outstanding sewing projects.
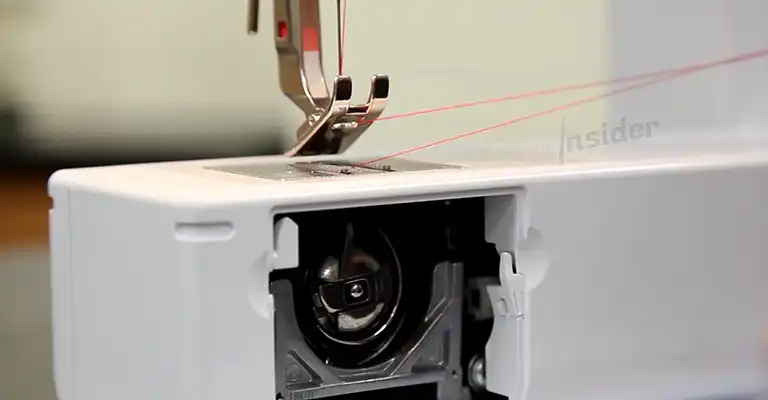
Threading processes of a Bernina 1008
Threading your Bernina 1008 is a crucial step in ensuring seamless sewing. Follow these detailed instructions to master the art of threading and get your machine ready for creative projects.
Spoon Placement on Spoon Pin:
Place the thread spoon on the spoon pin to prepare for threading.
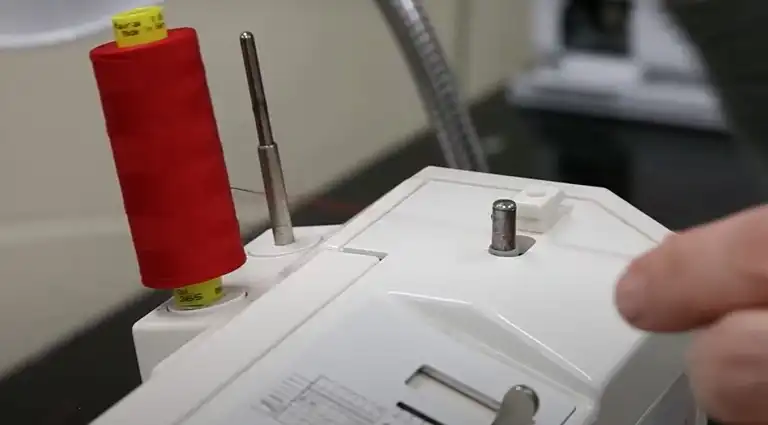
Through the First Thread Guide:
Holding onto the spoon thread, pass it through the first thread guide on the top of the machine.
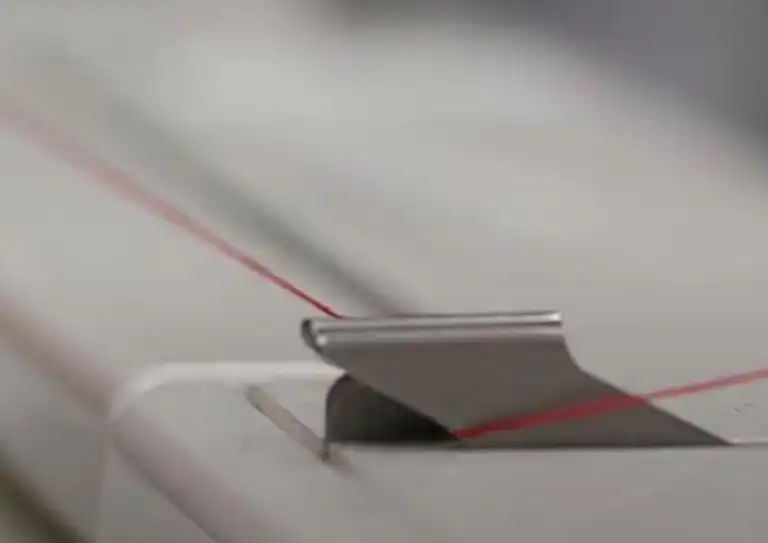
Through the Thread Tension Slot:
Bring the thread to the front through the thread tension slot.
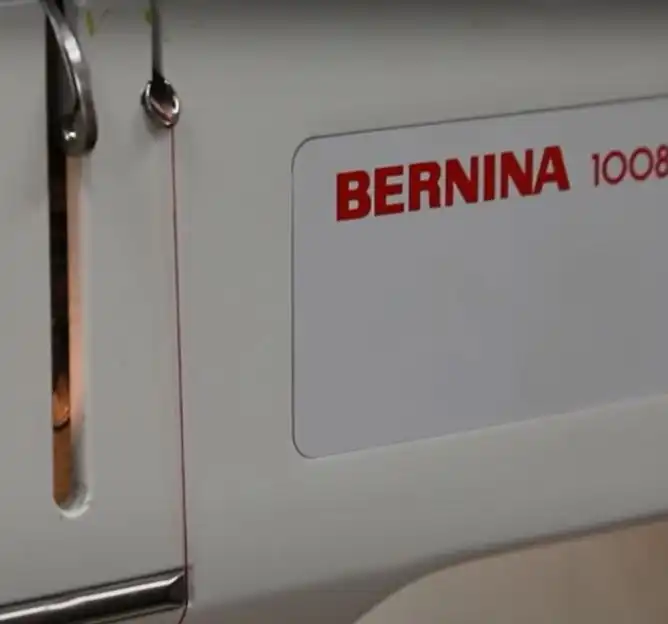
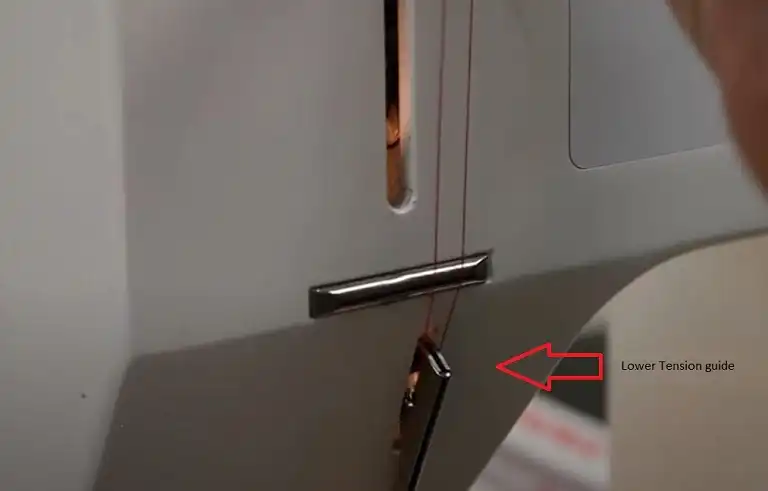
Under the Lower Tension Guide:
Place the thread under the lower tension guide, located close to the needle.
Through the Loop of the Take-Up Lever:
Bring the thread up and through the loop of the take-up lever.
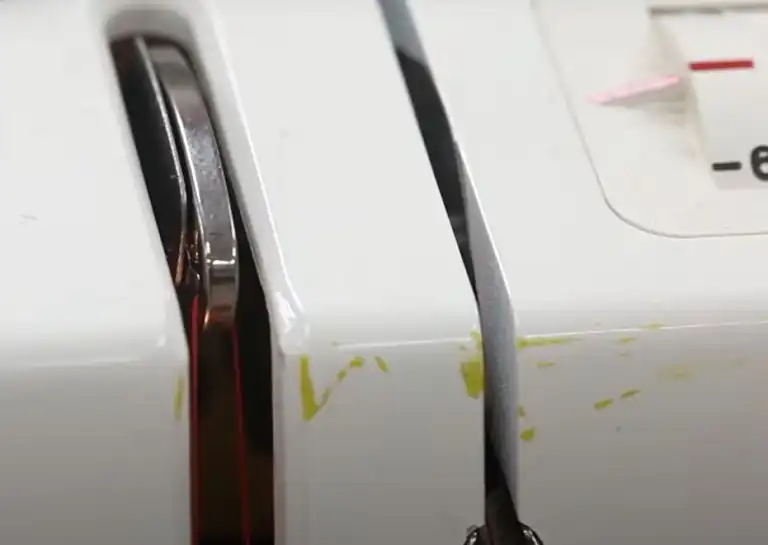
Thread Through the Thread Bar:
Place the thread through the thread bar just above the needle. If you’ve done it
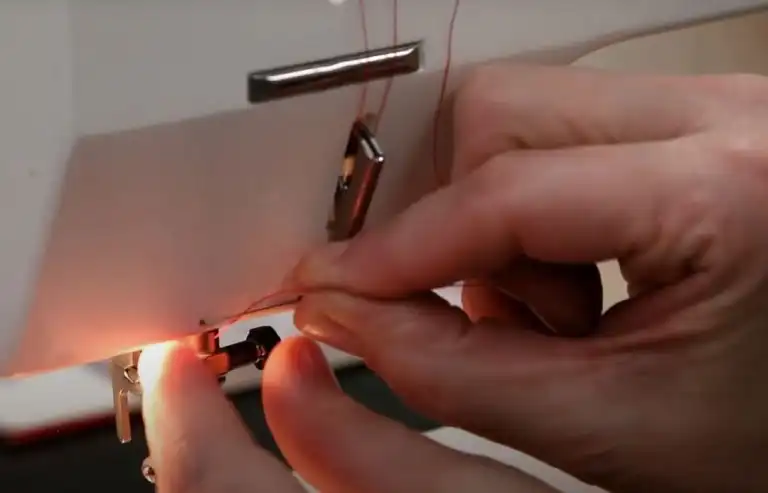
correctly, you now have an ‘N’ shape in your thread on the front of your machine.
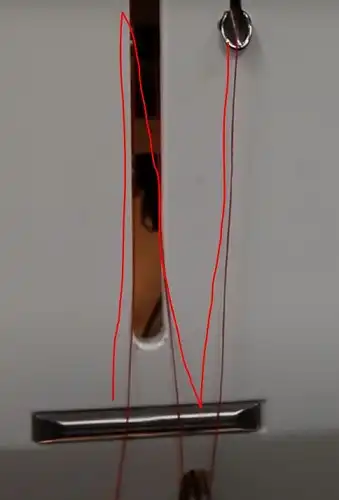
Above the Needle Hooked Thread Guide:
Loop the thread through the hooked thread guide above the needle.
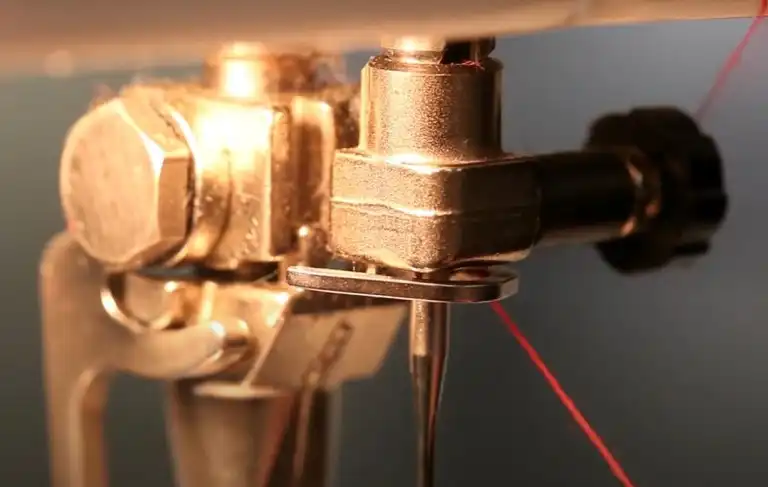
Thread Through the Needle:
Proceed to place the thread through the needle from the front to the back.
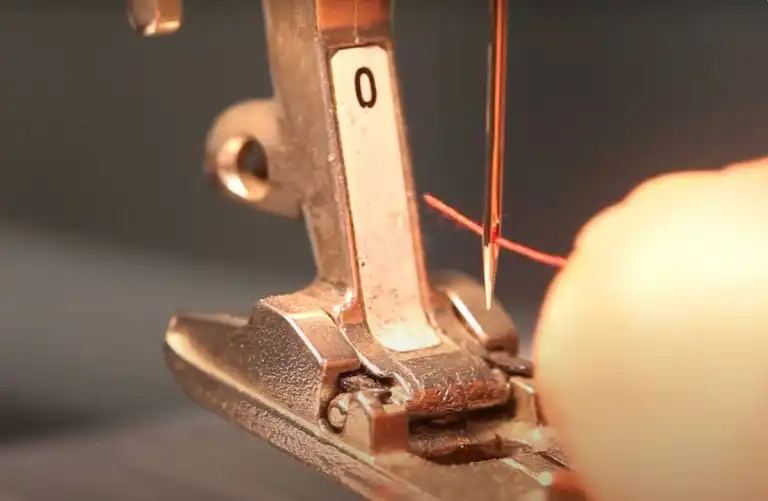
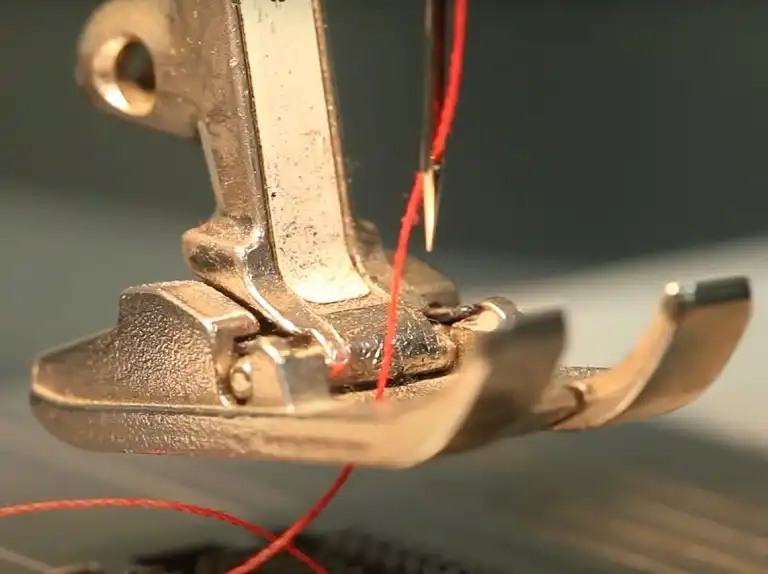
Thread Back and to the Lift Under the Pressure Foot:
Thread the needle back and to the lift under the pressure foot, leaving a sufficient tail.
Bobbin Insertion:
Hold your bobbin with the thread hanging over the right side of the bobbin visually this creates a ‘Q’ shape.
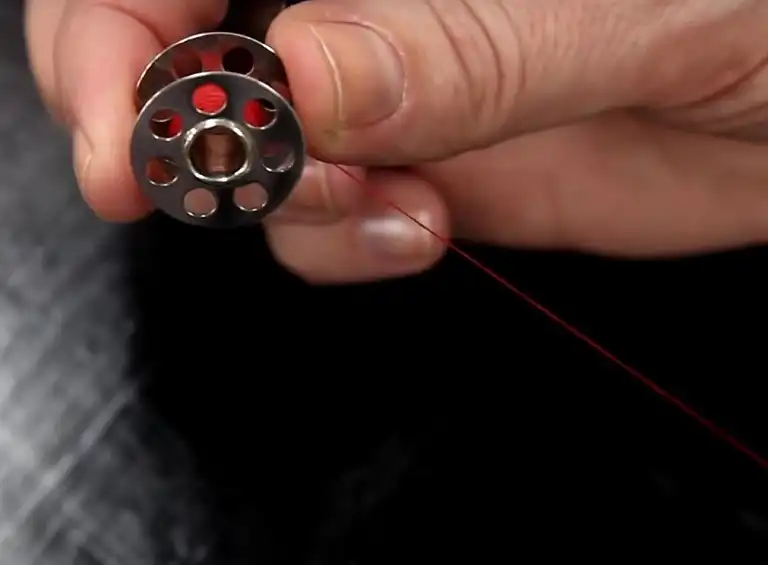
Place Bobbin into the Casing:
Place the bobbin into the casing and pull the thread through the tension slot.
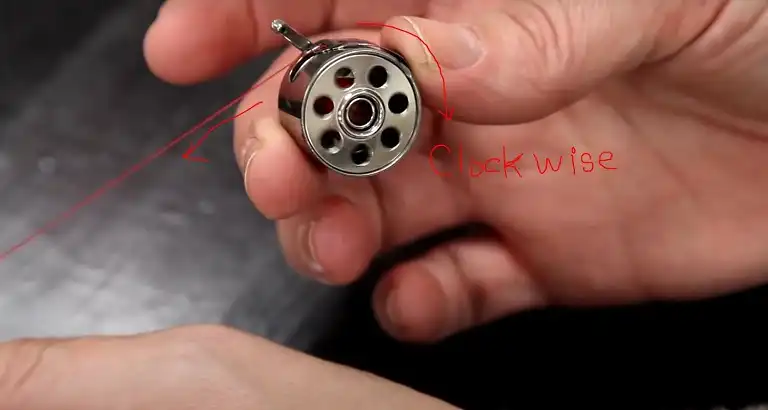
Engagement Check:
Check the engagement by pulling the thread; it should turn clockwise when done correctly.
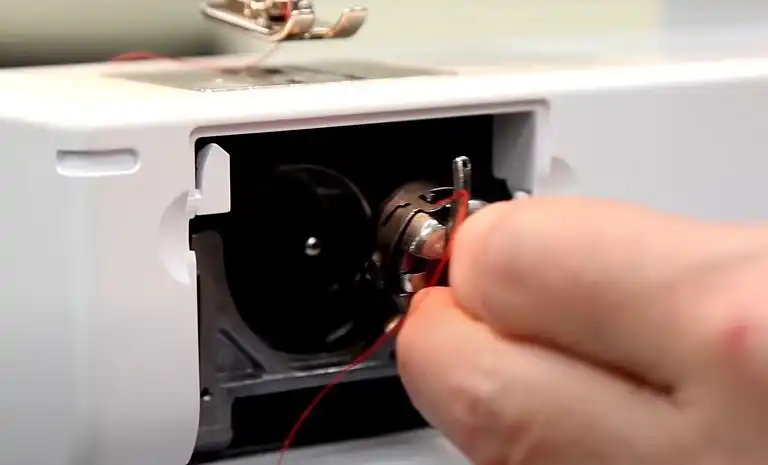
Aligning Bobbin in the Casing Compartment:
Turn the bobbin so the open side faces your machine, aligning the finger on top with the notch in the casing compartment.
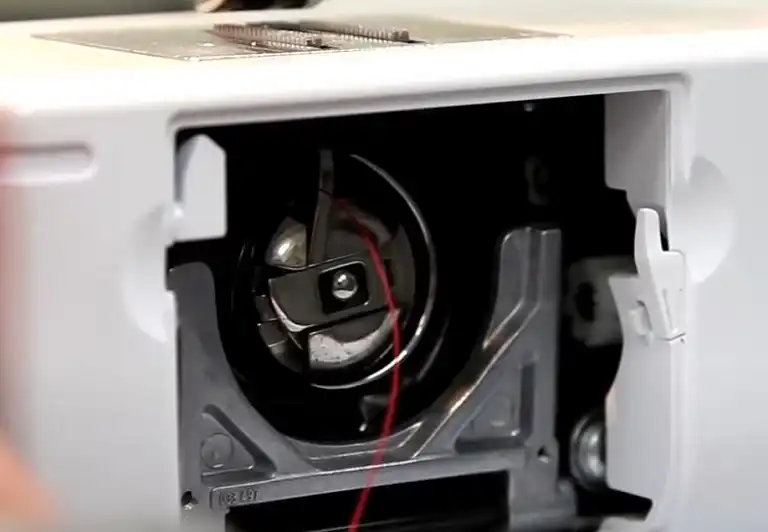
Checking Proper Insertion:
Verify proper insertion by jiggling the bobbin within the casing with your finger.
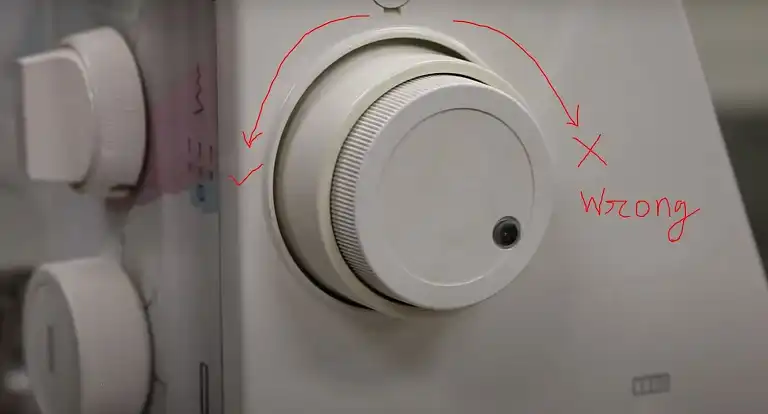
Upper Threading Completion: (flywheel)
With the bobbin casing compartment door open, turn the flywheel towards you to complete upper threading. Never turn the flywheel away.
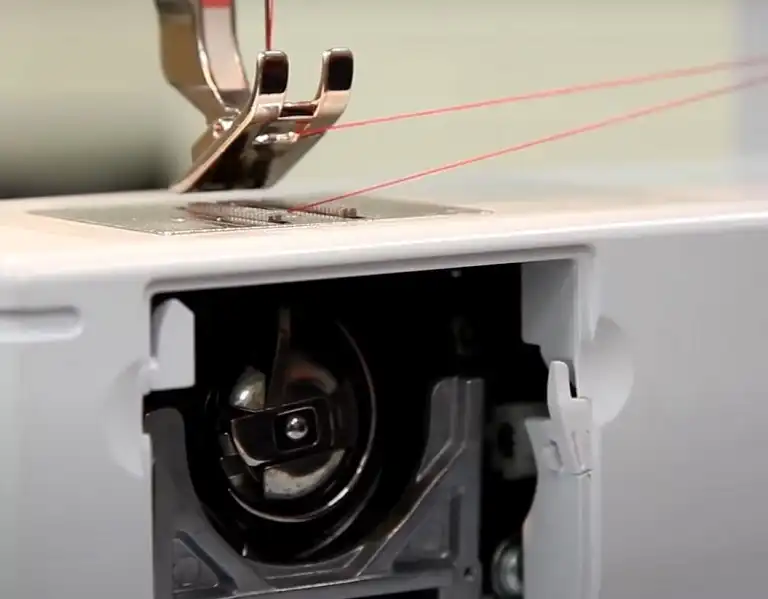
Ready to Sew:
Pull the bobbin thread and the upper thread back to the left, close the bobbin casing compartment door, and you’re now ready to sew.
Mastering these steps ensures a properly threaded Bernina 1008, setting the stage for a smooth and enjoyable sewing experience.
Troubleshooting Tips
Common Threading Issues
Encounter tangled threads or inconsistent stitches? Common threading issues can be a nuisance, but they’re easily solvable with a bit of troubleshooting.
Solutions for Tangled Threads
If your threads are constantly tangling, check the bobbin and needle. Ensure the bobbin is wound smoothly and that the needle is free from burrs or damage.
Avoiding Common Mistakes
Common mistakes, such as forgetting to raise the presser foot before threading, can lead to issues. Take your time and double-check each step to avoid these hiccups.
Maintenance for Longevity
Regular Cleaning Routine
Maintaining your Bernina 1008 goes beyond threading. Implement a regular cleaning routine to remove lint and debris, ensuring smooth operation.
Lubricating Moving Parts
Lubricate the moving parts of your machine as recommended in the manual. Proper lubrication prevents friction, extending the life of your sewing machine.
Storing the Bernina 1008 Properly
When not in use, store your Bernina 1008 in a cool, dry place, protecting it from dust and humidity. Proper storage contributes to the longevity of your machine.
Importance of Proper Threading
Impact on Stitch Quality
Proper threading directly influences stitch quality. From even tension to smooth stitches, threading is the foundation of a well-executed sewing project.
Avoiding Damage to the Machine
Incorrect threading can lead to unnecessary wear and tear on your Bernina 1008. By threading correctly, you contribute to the machine’s longevity and performance.
Ensure a Smooth Sewing Experience
Ultimately, the goal of proper threading is to ensure a smooth and enjoyable sewing experience. When the threads flow effortlessly, creativity flourishes.
Conclusion
In summary, threading the Bernina 1008 is the key to unlocking its full potential for seamless sewing. This step-by-step guide, from spoon placement to engaging the flywheel, ensures a properly threaded machine. Troubleshooting tips address common issues, while maintenance tips contribute to the machine’s longevity. Proper threading directly impacts stitch quality, prevents damage, and ensures a smooth sewing experience. With this comprehensive understanding, threading the Bernina 1008 becomes a gateway to creativity, allowing you to embark on a fulfilling sewing journey with confidence and skill. Happy sewing!
How often should I clean my Bernina 1008?
It is advisable to clean your Bernina 1008 regularly to maintain optimal performance. After completing a major project, a thorough cleaning is recommended. Additionally, a monthly cleaning routine helps remove lint and debris, ensuring the smooth operation of your sewing machine. Regular cleaning contributes to the longevity of the Bernina 1008, preventing potential issues and preserving its functionality. Keeping your machine clean is a simple yet effective way to ensure it continues to deliver precise and reliable stitches, allowing you to enjoy a seamless sewing experience with each use.
What do I do if the thread keeps breaking during sewing?
If your Bernina 1008 experiences frequent thread breakage while sewing, consider several troubleshooting steps. Begin by checking the thread quality and ensuring it matches your fabric. Inspect the needle for any damage and adjust tension settings accordingly. Verify that the bobbin is wound smoothly, and re-examine the threading path to prevent tangles. Ensure you’re using the correct needle size and type for your fabric. Regularly clean the machine to remove lint and debris, and consider reducing sewing speed to alleviate strain on the thread. By systematically addressing these factors, you can enhance the sewing experience and minimize thread breakage on your Bernina 1008.
Can I use different thread types with the Bernina 1008?
Yes, the Bernina 1008 is versatile and can accommodate various thread types. You have the flexibility to experiment with different thread materials, thicknesses, and colors to achieve diverse textures and effects in your sewing projects. Whether it’s cotton, polyester, or specialty threads, the Bernina 1008 is designed to handle a range of thread types, allowing you to customize your creations according to your preferences. Just ensure that the chosen thread complements the fabric you’re working with and adjust the machine settings, such as tension, accordingly for optimal results. This versatility adds a creative dimension to your sewing experience with the Bernina 1008.
Is it necessary to oil the machine regularly?
Yes, regular machine oiling is necessary for the Bernina 1008. Follow the machine’s manual for instructions on proper oiling intervals. Regular lubrication ensures smooth operation and prolongs the life of your sewing machine.
Are there specific needles recommended for the Bernina 1008?
Yes, it is advisable to refer to the Bernina 1008’s manual for recommended needle types and sizes based on your specific sewing projects. Using the correct needles ensures optimal performance and stitch quality for your machine.
Leave a Reply