Just turn on the machine, place the upper and lower loopers, set the desired stitch and needles, then sew the fabric. Find all these steps described briefly here.
How Will We Use?
Before using a serger machine, keep in mind that it accomplishes the following functions-
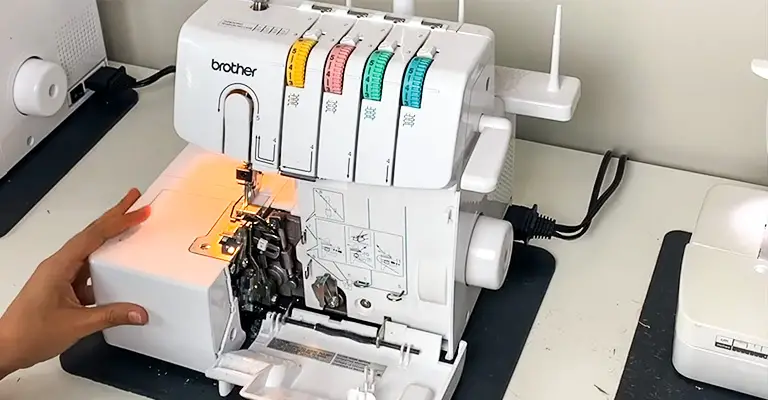
- Secures seam with stitches.
- Cuts the seam allowance or excess fabric.
- Covers the raw edges with overcast stitches.
- Can create the rolled hem.
Turn the Machine Off
When you are going to tread the machine, make sure it is switched off.
Find the Threading Diagram
The threading diagram of your serger will tell you the order of threading the machine. Most machines available in the market bear four reels of threads. Two reels are used in the needles and the others are for using under the needles (to make loops).
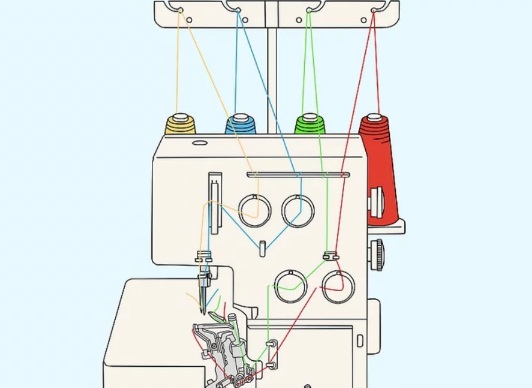
Place a Reel on Upper Looper
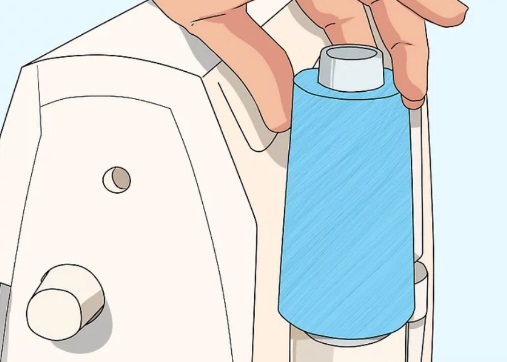
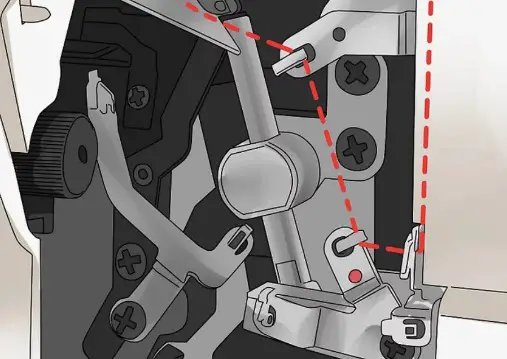
You may find the upper looper just on the right side of your machine. Find the right spindle for the upper looper, take a spool, and set on it. Then pull the thread up, remove the machine faceplate, take the thread into metal loops just under the plate. It will be better to watch the machine user manual. That can help you to set the thread properly.
Lower Looper Setting
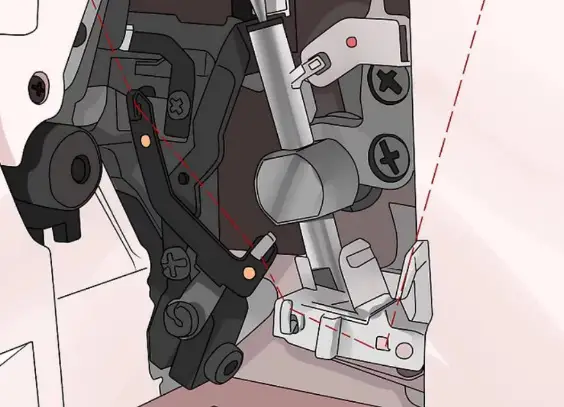
Now fix the reel on the spindle for the lower looper, take the thread over the machine front. Bring the thread into the tight spots (take help from tweezers).
Now the Needles
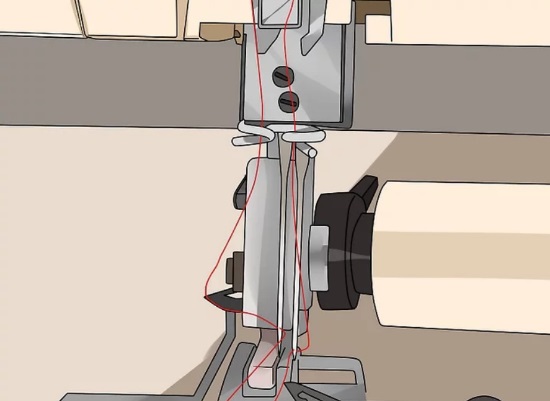
After bringing the threads over the front, take these through the machine needles.
Choose the Stitch
First of all, turn the machine on and adjust the machine tension. Select what stitch you need from the user manual.
Set the Spool Tension
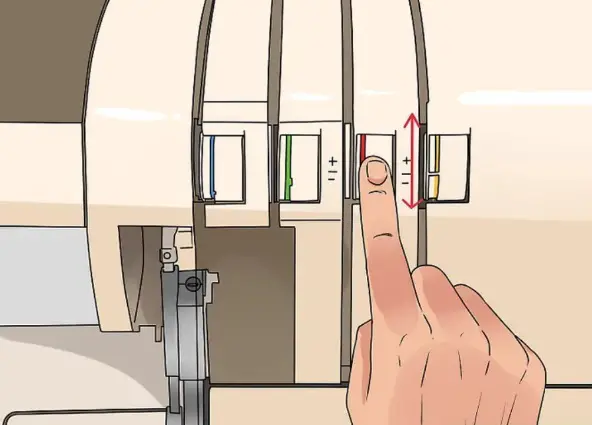
After selecting the stitch, adjust tension for each of the spools (watch the user manual again).
Start the Machine
Now put your foot on the pedal and start a ruff stitch. No need to test the serger stitches on your fabric. If the stitch is so loose, make it tight by adjusting the tension dials again. Until you have got your even stitches, run the stitching practice.
Needle Settings
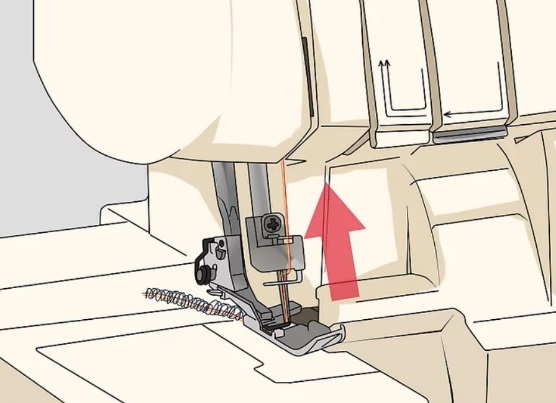
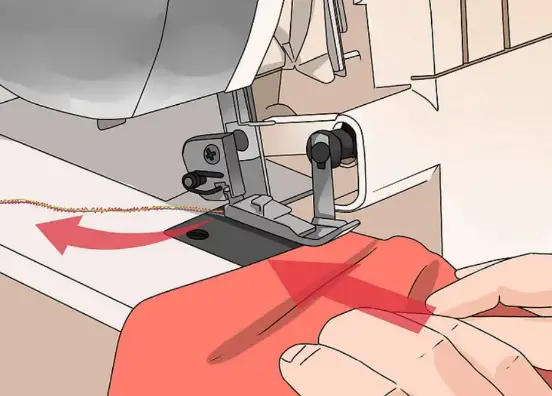
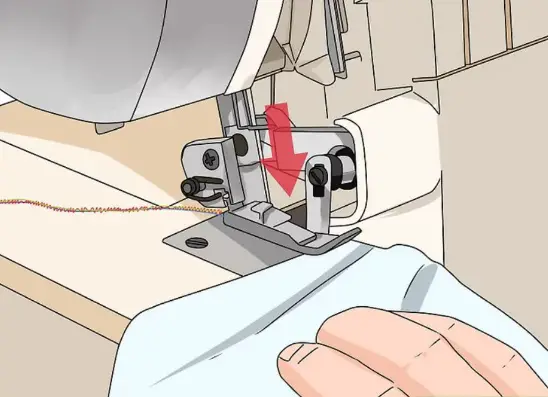
Turn the needle dial-up to you. Lift the needle. And then pull up the pressure foot lever. Slide the fabric under the needles when you are lifting the practice string. Finally, keep the pressure lever needles both down.
Sew the Fabric
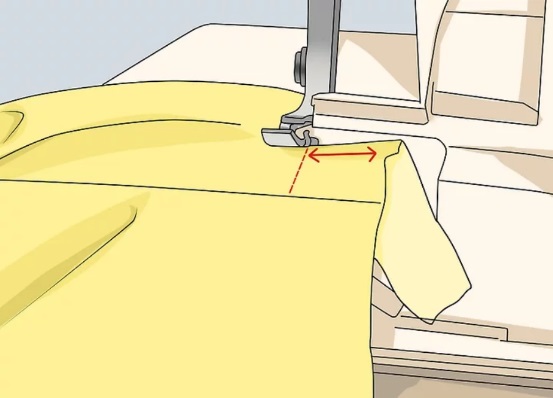
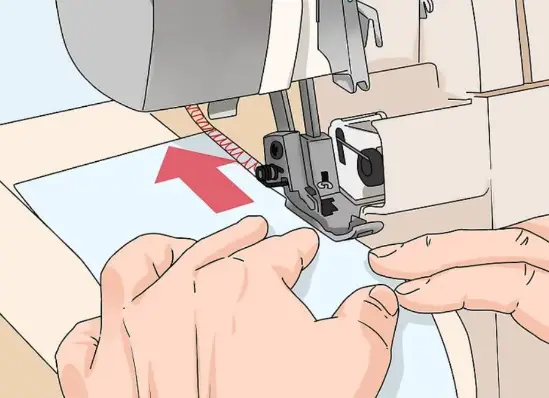
Now, this is the time for sewing! The serger machine completes seams as well as cuts the fabric. Just push the fabric by keeping the seam allowance constant always at the right side of the needle.
Here the important things to do are:
- Slightly push the fabric straight.
- Gently use the foot pedal and control the sewing speed.
How to Use a Serger to Make Clothes
Here we have told the process of making a skirt using the serger.
- First of all, have a look at the user manual and know the functions of different stitches.
- Take accurate measurements of the waist, hip, neck, chest, etc.
- Draw a pattern of your cloth.
- Now cut your fabric according to the cloth pattern.
- Sew the seam edges together.
- Then hem the edges.
- Now attach the buttons, elastic, or zippers as finishing.
Serger for Beginners
Here we have found the best sergers currently available in the market.
Brother 1034D 3/4 Thread Serger
Pros
- Gives 25-years warranty.
- Easy to use.
- Available with 22 built-in stitches.
Cons
- Not so good on heavy fabrics.
SINGER 14CG754 ProFinish
Pros
- Bears adjustable stitch length.
- Has 2-3-4 thread capability.
- Effective for sewing cuffs.
Cons
- Its suction cups are comparatively weak.
Janome MOD-8933
Pros
- Available with a retractable upper knife.
- Can do rolled hemstitching.
- Removes puckering on fabric.
Cons
- A little bit noisy!
JUKI MO644D Portable Serger
Pros
- Stitches around 1500 in a single minute!
- Has adjustable stitch length and width.
Cons
- Not for heavy fabrics!
T-Shirt Overlock Machine
Generally, overlock stitches are used for sewing the t-shirt seams. For buying a t-shirt overlock machine, make sure this machine features:
- The machine can sew linen, leather, and fabric materials.
- Mild steel body material (for the long run and heavy durability).
- Bears overlock stitch.
How to Sew?
- Select your pattern and then draw it on tracing paper.
- Then cut your fabric according to the pattern.
- Set up your overlocker and choose the overlock stitch.
- Then sew the shoulder seams and sleeves.
- Sew the side seams, make a neckband from the fabric. After diving it into four equal parts, sew it up.
- Then finish the hems.
That’s the way you can find your t-shirt!
What Can I Make with a Serger Sewing Machine?
A serger machine is widely used for creating clean edges on seams. It protects the fabric edge and encloses the seam allowances. Besides, to make rolled hems, serger behaves more professionally!
FAQ
Q. What are the differences between a household and an industrial sewing machine?
Ans: Household sewing machines are said to be portable and versatile. They work with less speed and so, they can’t do well on heavy fabrics! You can get a variety of stitches. On the other hand, industrial ones are more powerful. But they only do the straight lockstitch very well.
Q. Can you hem jeans by a serger?
Ans: To hem the jeans using a serger is said to be very easy and fast. Without a serger, manage an overlock stitch on your sewing machine.
Conclusion
Using a serger for beginners is not so easy! Read the serger functions and ensure the best use of them. Besides, know the best sergers of the market as well as how to make professional clothes using this giant!
Leave a Reply